Pets and More: Miss You Card

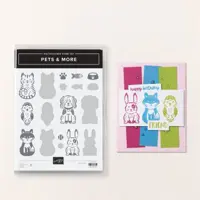
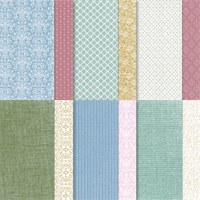
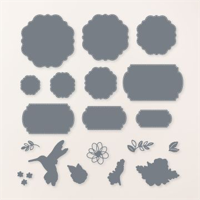
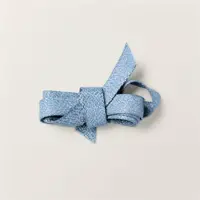
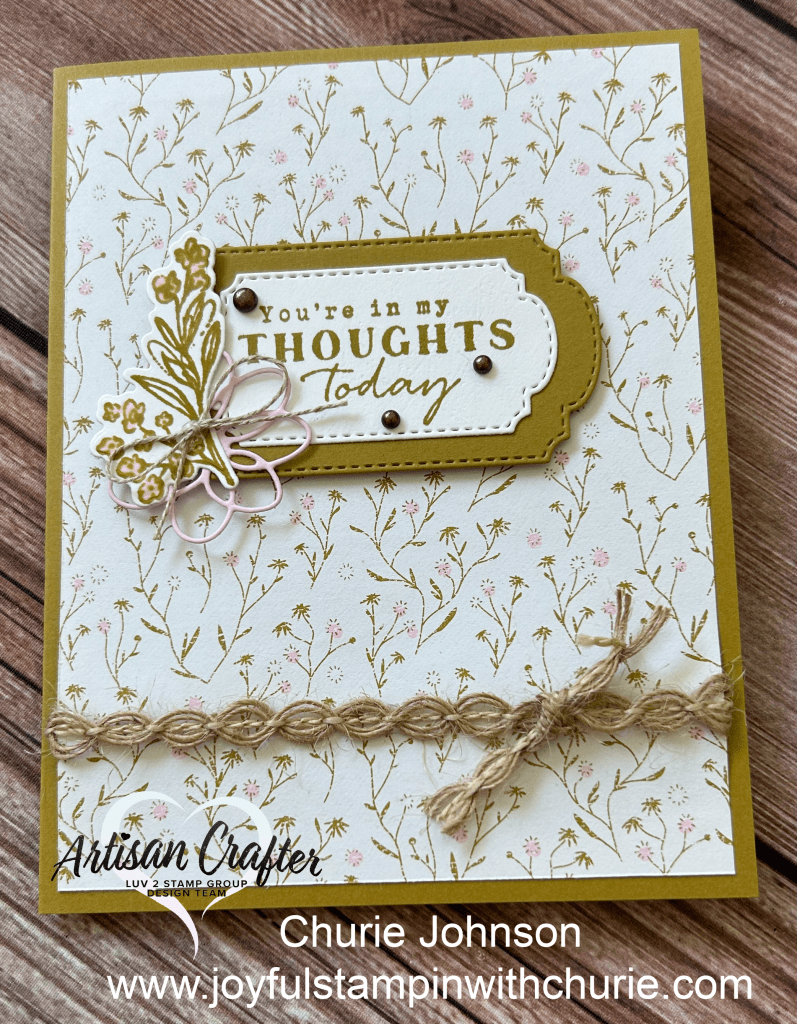
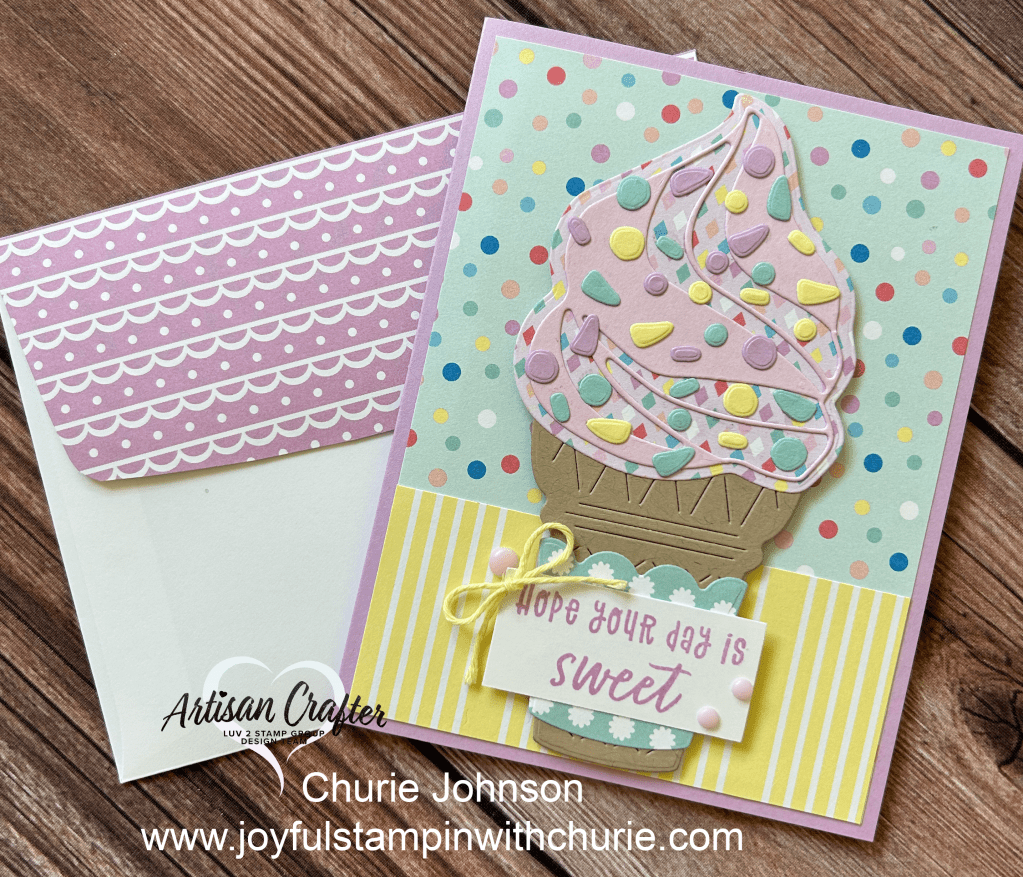
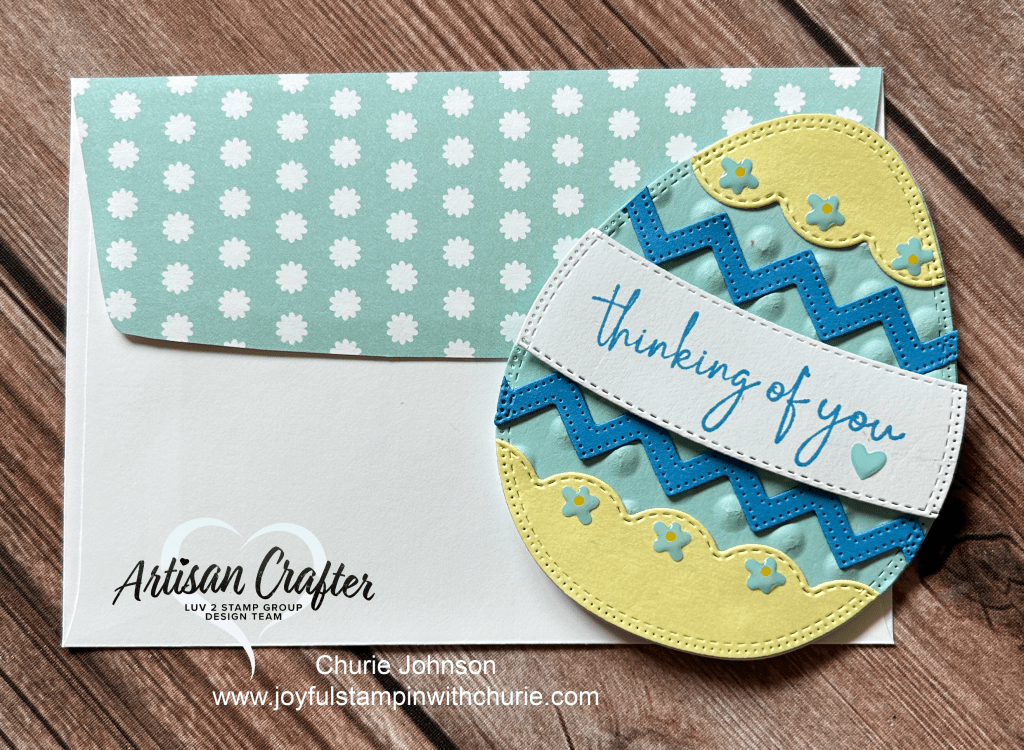
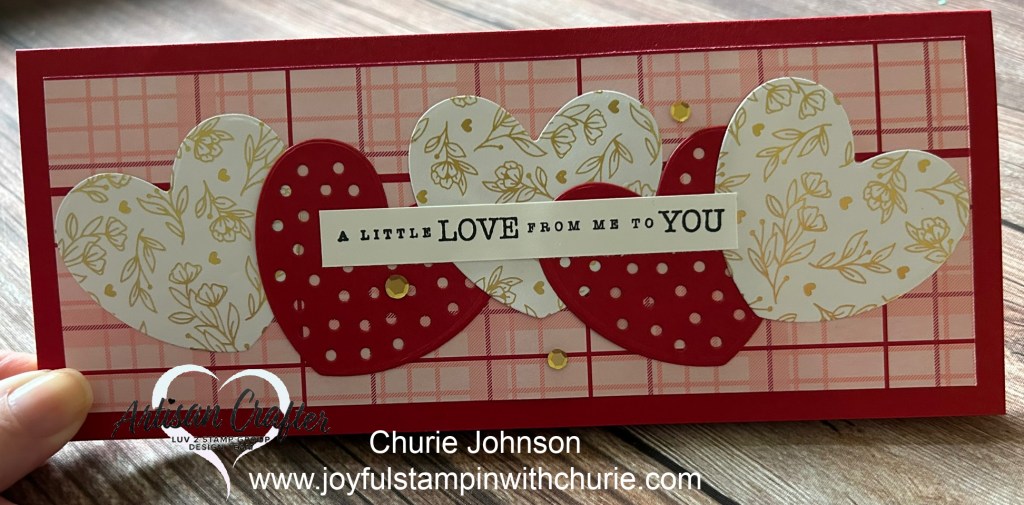
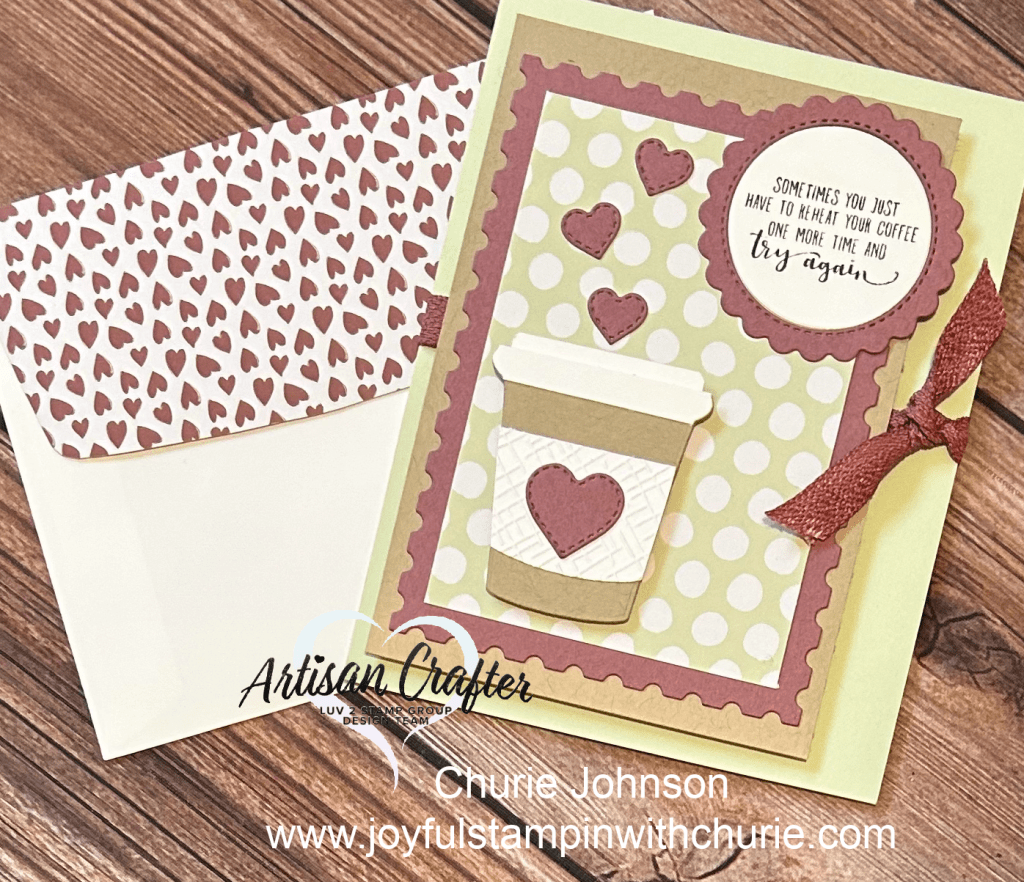
I decided to be creative and pair the Stampin’ Up Poetic Expressions Designer Series Paper (DSP) with the cute Pets and More stamp set. To add some dimension to this card, I used the Foam Adhesive Sheets to raise up the Meadow Mossy layer and the Stampin’ dimensionals to raise up the Boho Blue Label.
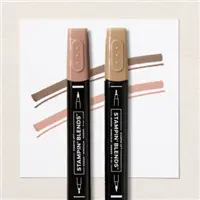
Color Combination:

Card Measurements:

Card base: 5.5” x 8.5” (scored at 4.25”)

Bobo Blue layer: 5.25” x 4”

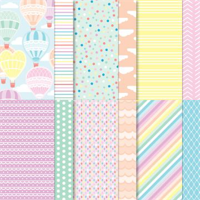
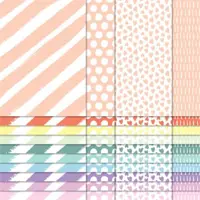
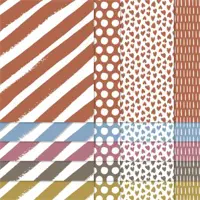
Poetic Expressions DSP: 5” x 3.75”

Mossy Meadow layer: 4.25” x 3”

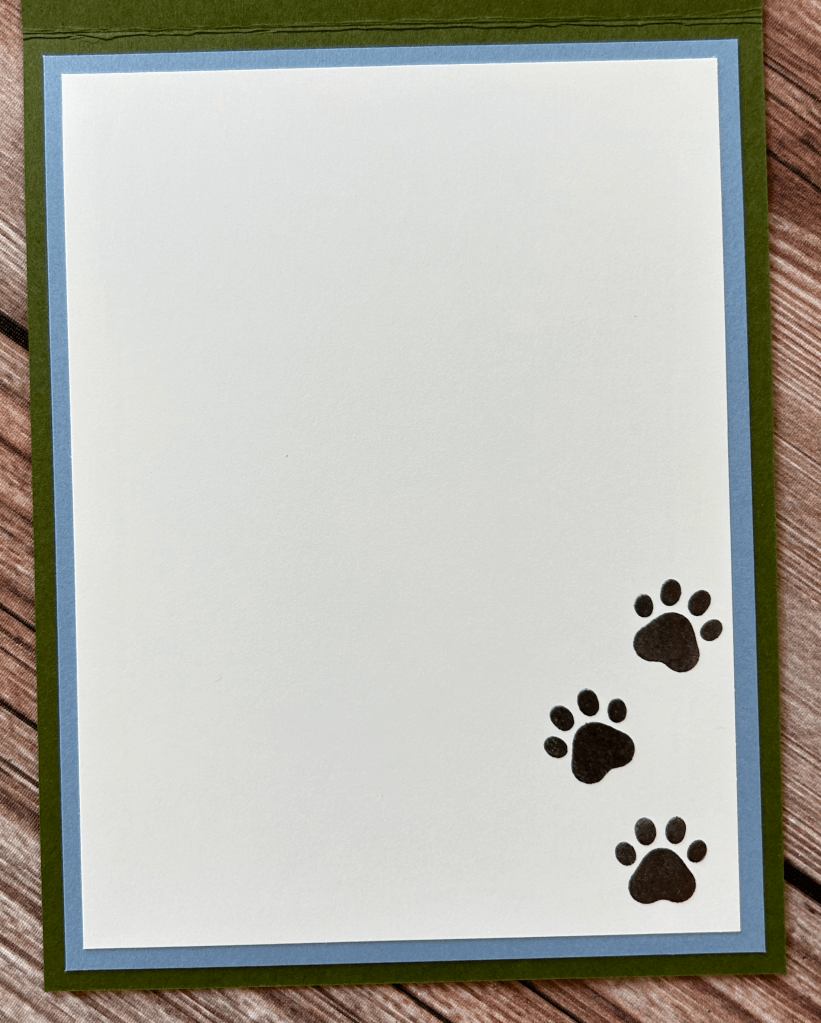
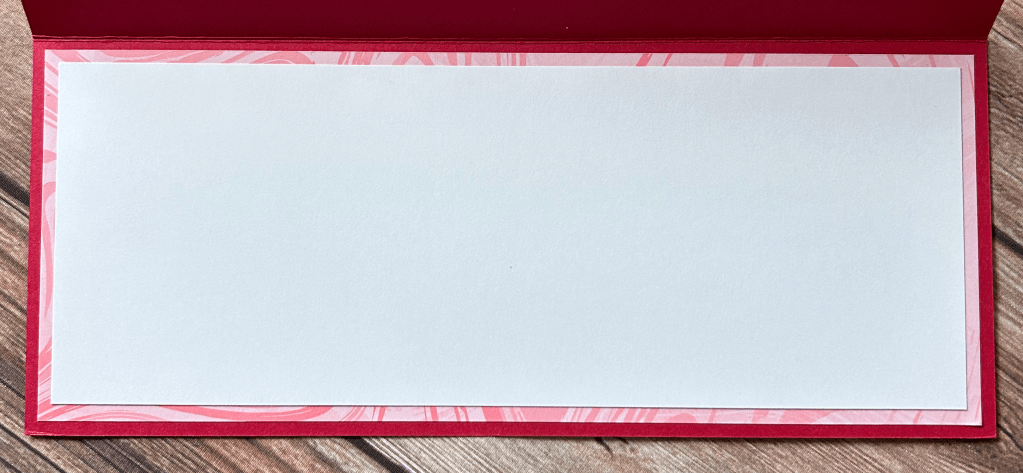
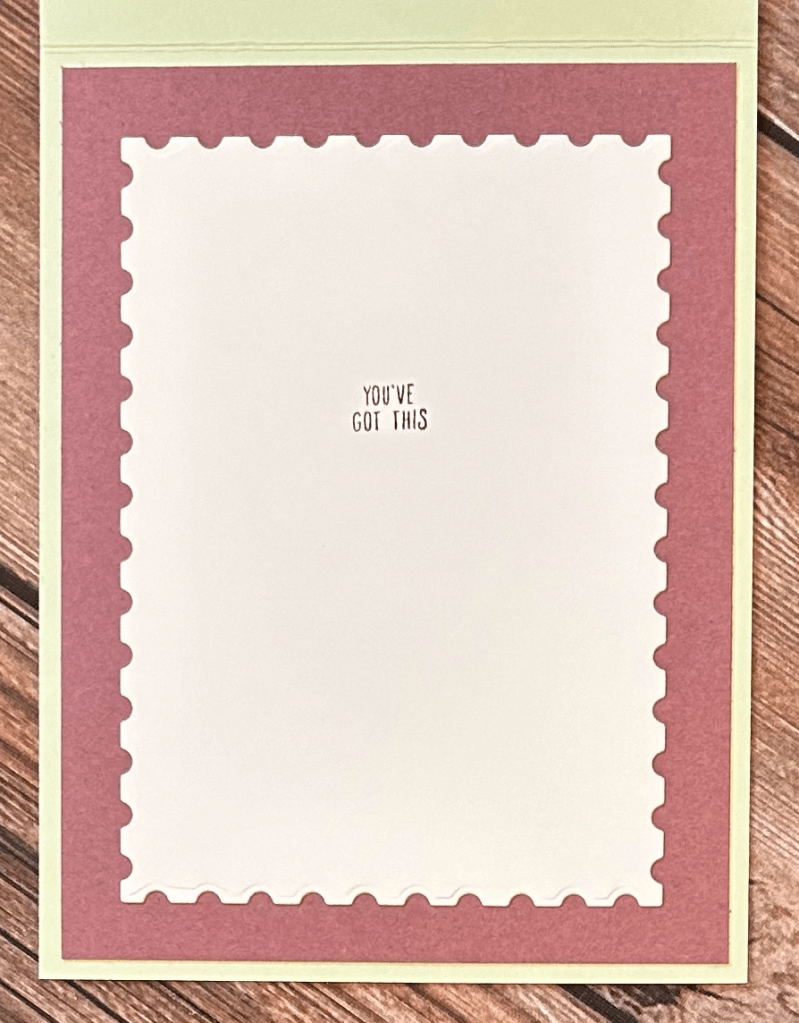
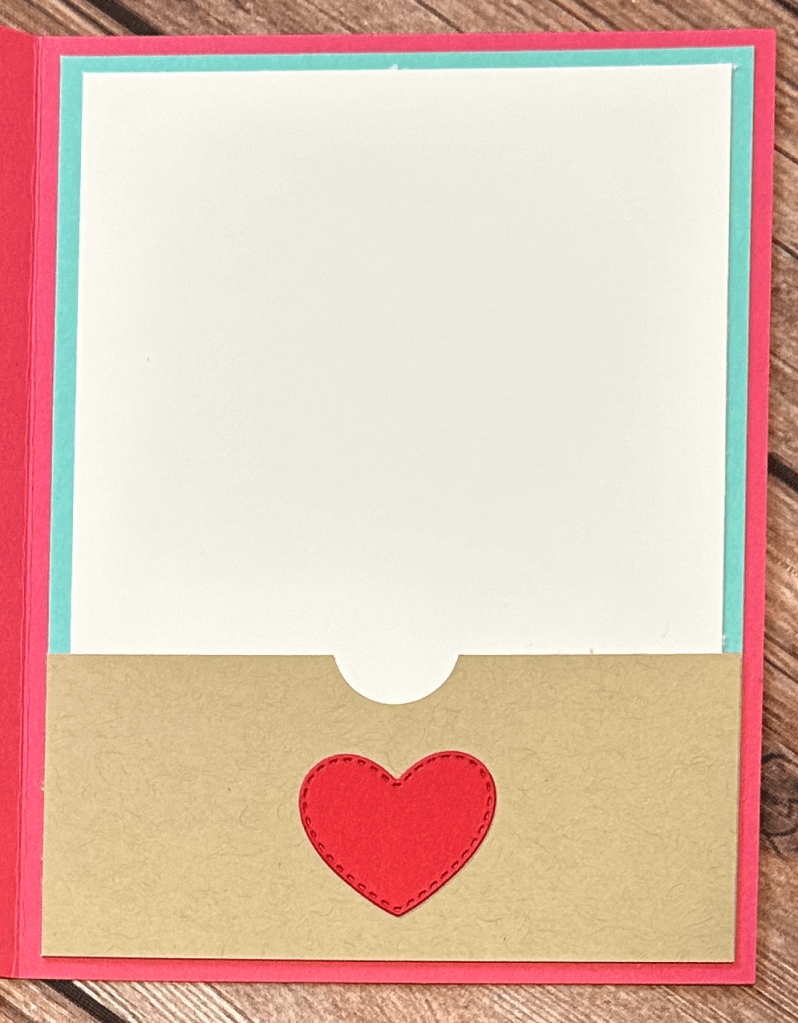
For the inside of the card, I stamped some cute paw prints.

I used the following items to make this cute miss you card. Happy stamping! 🙂

Poetic Expressions: You’re in my Thoughts Today Card

There is something about this dainty and delicate Designer Series Paper (DSP) that is in the Stampin’ Up Poetic Expressions 12″ x 12″ DSP pack that makes my heart happy. The color combination of Wild Wheat and Bubble Bath is one of my favorites. This card is quick to make and will certainly brighten someone’s day. I used the Thoughtful Expressions bundle to create the card. The sentiment was stamped using the Wild Wheat Classic Stampin’ Pad. I also used the Wild Wheat Classic Stampin’ Pad to stamp the flower image. I colored the flowers with the light Bubble Bath Stampin’ Blends.

Color Combination:

Card measurements:

Card base: 5.5″ x 8.5″ (scored at 4.25″)

Designer Series Paper (DSP) Layer: 5.25″ x 4″

A list of supplies I used to create this card is below. Happy stamping! 🙂

Poetic Expressions: Where in the World Would I be Without You? Card

Would you like to express how grateful you are for someone being in your life? Today, I made a card for such an occasion. I used the Stampin’ Up Poetic Expressions suite to create this card. The Poetic Expressions 12″ x 12″ Designer Series Paper (DSP) is very pretty and it is easy to create cards with. The hummingbird and flower images from the Thoughtful Expressions bundle were stamped with Tuxedo Black Memento Ink and were colored using Stampin’ Blends. The sentiment I stamped using the Wild Wheat Classic Stampin’ Pad. To add some pizzaz to the card, I used Stampin’ Dimensionals to raise up the sentiment layer of the beautiful label. Lastly, I added three Rustic Metallic Adhesive-Backed Dots that compliment the colors of the card.

Color Combination:

Card Measurements:

Card base: 5.5″ x 8.5″ (scored at 4.25″)

Wild Wheat Designer Series Paper (DSP): 5.5″ x 3.75″

Lost Lagoon Designer Series Paper (DSP): 2.75″ x 3.75″ (cut diagonally)

A list of supplies I used to create this card is below. Happy stamping! 🙂

Hope Your Day is Sweet

Who doesn’t love ice cream? 🙂 The Stampin’ Up Ice Cream Swirl bundle makes the cutest ice cream cones. I paired the bundle with the Lighter Than Air 6″ x 6″ Designer Series Paper (DSP) to make this card. I created the ice cream by die cutting the Lighter Than Air DSP with the ice cream outline die and then I die cut the ice cream swirl piece in Bubble Bath cardstock and layered it on top of the DSP layer. I created the sprinkles on the ice cream with the sprinkle die that comes in the bundle. The ice cream cone was created by using the two ice cream cone dies on Crumb Cake cardstock.

Color Combination:

Card Measurements:

Card base: 5.5″ x 8.5″ (Scored at 4.25″)

Designer Series Paper (Polka Dots): 5.25″ x 4″

Designer Series Paper (Striped): 1.75″ x 4″

The supplies I used to create this cute card is below. Happy stamping! 🙂

Spring Thinking of You Card

This week I decided to have some fun with the Stampin’ Up Excellent Eggs bundle. For this first card I used the largest egg die to create the card base. To create the card base, I took a 6″ x 4″ piece of thick white cardstock and scored and folded it at 3″. Then I placed the egg die on top of the white cardstock (leaving part of the egg die off the folded edge of the thick white cardstock). Lastly, I die cut it out using the Stampin’ Up Cut and Emboss Machine. After creating the card base, I die cut an egg from Pool Party, Lemon Lolly, Azure Afternoon, and Basic White cardstock. The Pool Party egg, I decided to add some texture to it by embossing it with the polka dot embossing folder from the Basics 3D Embossing Folders pack. I then die cut various designer shapes for the eggs using the Excellent Eggs dies and decorated the Pool Party Egg. I stamped the Thinking of You sentiment using the Azure Afternoon stamp pad onto the white decorative piece I created with the dies. Lastly, I adhered everything together. I decided to use Stampin’ Dimensionals to raise up the sentiment piece on the front of the card.

Color Combination:

For the inside of the card, I decided to adhere a Pool Party egg onto the card base to add some color.

Supplies I used to create this cute card are the following:

A Little Note To Say I Miss You

I really enjoy creating cards using the Stampin’ Up Most Adored Designer Series Paper (DSP). I paired the Most Adored DSP with the Stampin’ Up Sending Love bundle, Perennial Postage dies, Give it a Whirl dies, and Scalloped Contour dies. I used the Stampin’ Up Note Cards and Envelopes to make this cute card.

I wanted to tie in the scalloped edges from the front of the card to the inside of the card, so I used the Scalloped Contour dies to add a layer that an individual can write a personalized message on.

Below is a list of supplies I used to create this card. Happy stamping! 🙂

Hope Your Day is Sweet

Happy Valentine’s Day! Today I want to show you how you can use the Stampin’ Up Most Adored Designer Series Paper (DSP) to create more than just Valentine’s Day cards. For this card, I paired the Most Adored DSP with the Stampin’ Up Ice Cream Swirl stamp set, Super Cool stamp set, and Gone Fishing dies.

Color Combination:

I stamped the various images from the stamp sets using the Memento Tuxedo Black stamp pad into the different sections of the Gone Fishing die and then used the Stampin’ blends and markers to color them. For the sweet treat with the strawberry on top of if, I used the Early Espresso stamp pad to ink the bottom part of the stamp and used a Real Red marker and Garden Green marker to color the strawberry and leaves images of the stamp, and then I stamped the image on the Basic White cardstock. Next, I stamped the sentiment in Flirty Flamingo in the lower right hand section. Lastly, I added some real red ribbon and adhesive backed sequins to the card to add some pizzaz.

Card Measurements:

Card base: 8.5″ x 5.5″ (scored at 4.25″)

Most Adored DSP: 4″ x 8.25″

Below is a list of supplies I used to create this cute card. Happy stamping! 🙂

A Little Love From Me To You Card

Valentine’s Day is right around the corner so I decided to have some fun with the Stampin’ Up Most Adored Designer Series Paper (DSP) which is one of the items you can earn for free during Sale-A-Bration with a minimum qualifying order. The colors I used for this slimline card is Real Red, Flirty Flamingo, and Gold. The hearts were created using the Stampin’ Up Hooray For Surprises dies. The sentiment, “A little love from me to you” is one of the stamps in the Sending Love stamp set.

Card measurements:

Card base: 7″ x 8.5″ (scored at 3.5″)

Designer Series Paper (front of card): 3″ x 8″

Designer Series Paper (inside of card): 3.25″ x 8.25″

Basic White cardstock (inside of card): 3″ x 8″

I decided to add some of the Most Adored Designer Series Paper to the inside of the card with Basic White cardstock layered on top of it. The Flirty Flamingo Swirl Designer Series Paper adds a little pizzaz to the inside of this card.

Below is a list of supplies I used to create this card. Happy Stamping! 🙂

Encouragement Card

I made this cute card to encourage someone. I created the coffee cup using the Stampin’ Up ice cream cone die in the Ice Cream Swirl die set… yes, you read that correctly. 🙂 I used several Stampin’ Up die sets to make the card: Perennial Postage dies, Ice Cream Swirl dies, and Give it a Whirl dies. The sentiment, “Sometimes you just have to reheat your coffee one more time and try again,” is a part of the Stampin’ Up Coffee With Friends stamp set. To give this card some dimension, I raised the Crumb cake up using the Stampin’ Up Foam Adhesive Sheets.

The color combination I used for this card is the following:

The card measurements:

Card base: 11″ x 4.25″ (scored at 5.5″)

Crumb Cake layer: 5″ x 3.5″

Moody Mauve layer: Perennial Postage Dies

Soft Sea Foam Designer Series Paper: 4″ x 2.75″

I just love this sentiment in the inside of this card, “You’ve got this,”. Sometimes people just need a little bit of encouragement.

Inside card measurements:

Moody Mauve layer: 5.25″ x 4″

White layer: Perennial Postage Dies

Below is a list of supplies I used to create this cute card. Happy stamping! 🙂

Love You Card

I am not sure about you, but when I saw the Stampin’ Up Ice Cream Swirl bundle in the January – April 2024 Mini Catalog it had fun written all over it. Right now the weather is still on the cold/cool side and ice cream has not really been on my mind… but a cup of hot, delicious coffee sounds amazing. 🙂 With that being said, I found a way to create a cup of coffee using the Stampin’ Up Ice Cream Swirl dies. I used the ice cream cone die to die cut the shape from a piece of Crumb Cake cardstock and Basic White cardstock. Next, I cut the Crumb Cake cone just above where the rim starts (base of the cup). Then I cut the white piece of the cup from the Basic White cone and layered it on top of the Crumb Cake cone. To make the white top of the lid, I cut a Basic White piece of cardstock .25″ x 1.5″ and adhered it to the back of the white lid. To add some pizzaz to the cup, I used the coffee sleeve die to die cut a white sleeve and then I embossed the coffee sleeve with the Basics 3D Embossing Folders. The sleeve will hang over the side of the cup, but after adhering it to the coffee cup you can cut the excess off using a pair of scissors. Lastly, I added a stitched Real Red heart to the sleeve. The heart was die cut using one of the dies included in the Give it a Whirl die set.

Color Combination:

I thought it would be real cute to add a gift card pocket to the inside of the card. What a perfect gift… a gift card to the person’s favorite coffee place. 🙂

Supplies used to make this cute card are listed below. Happy stamping!