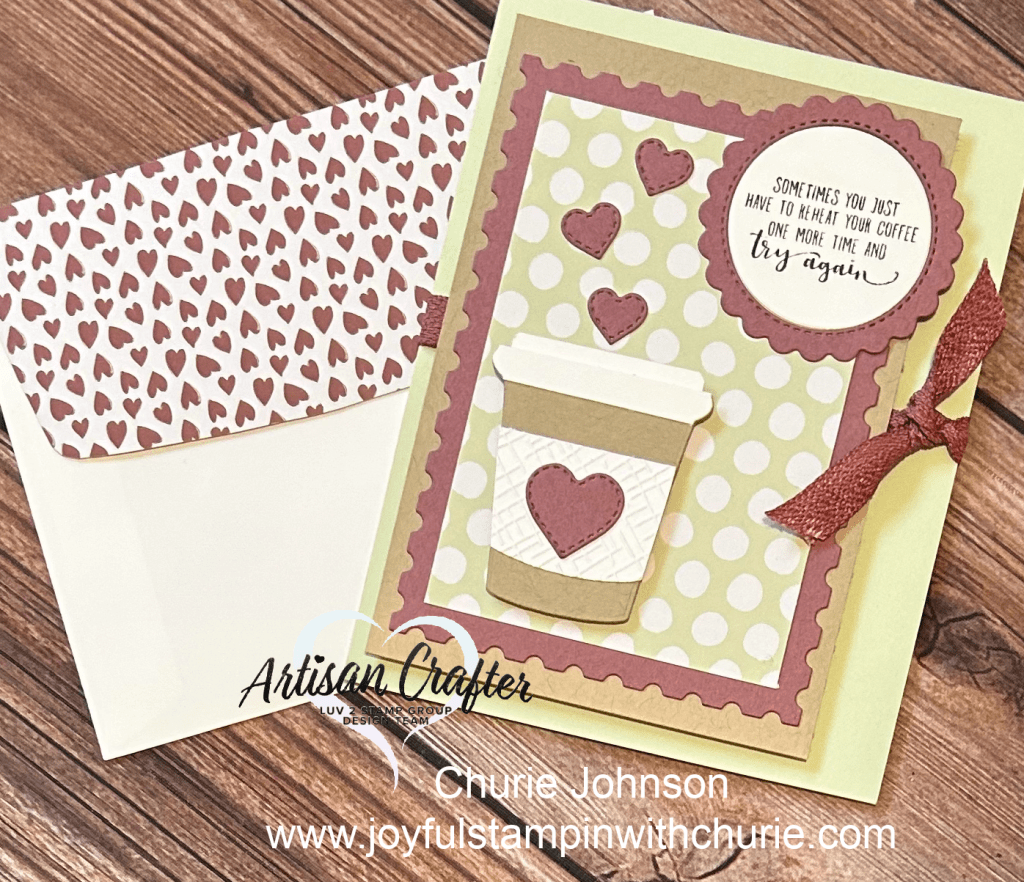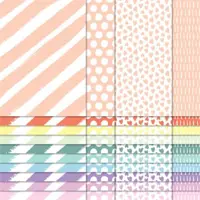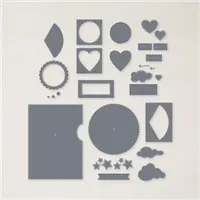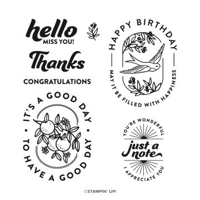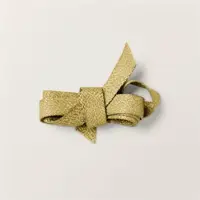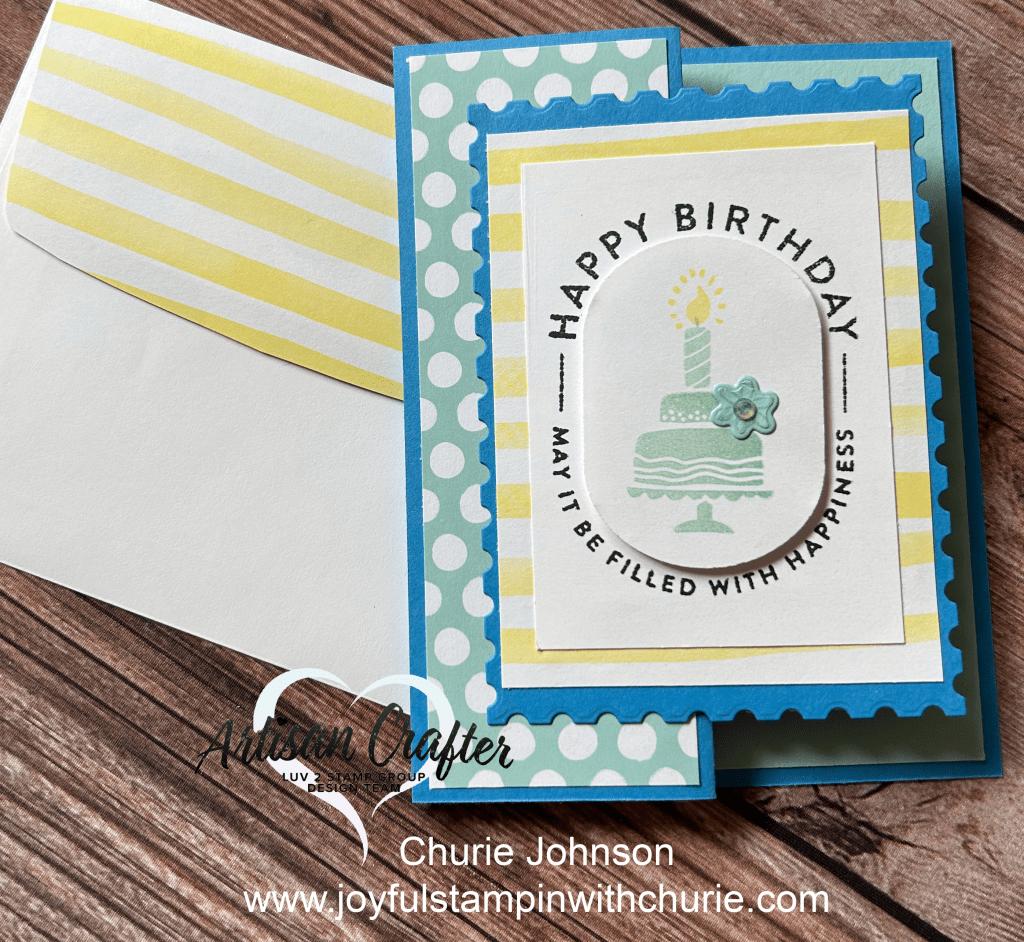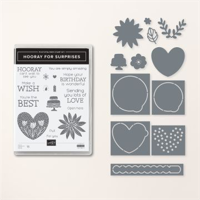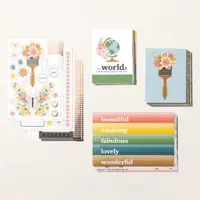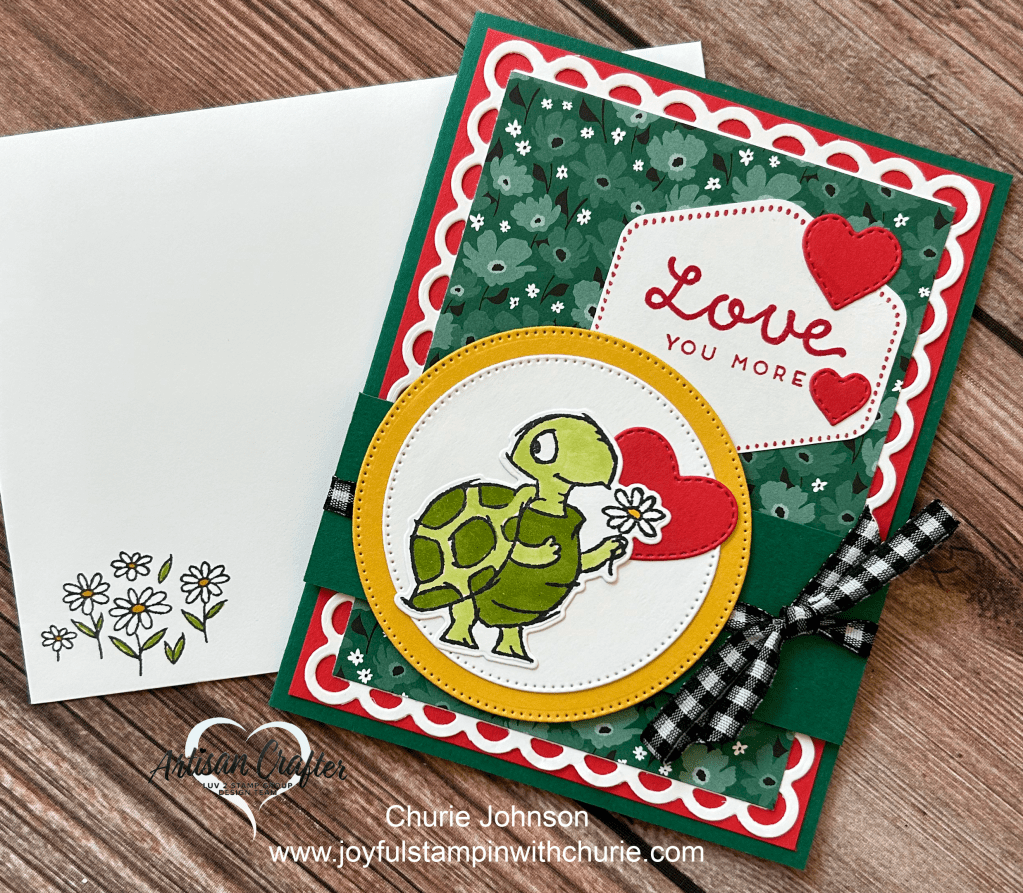
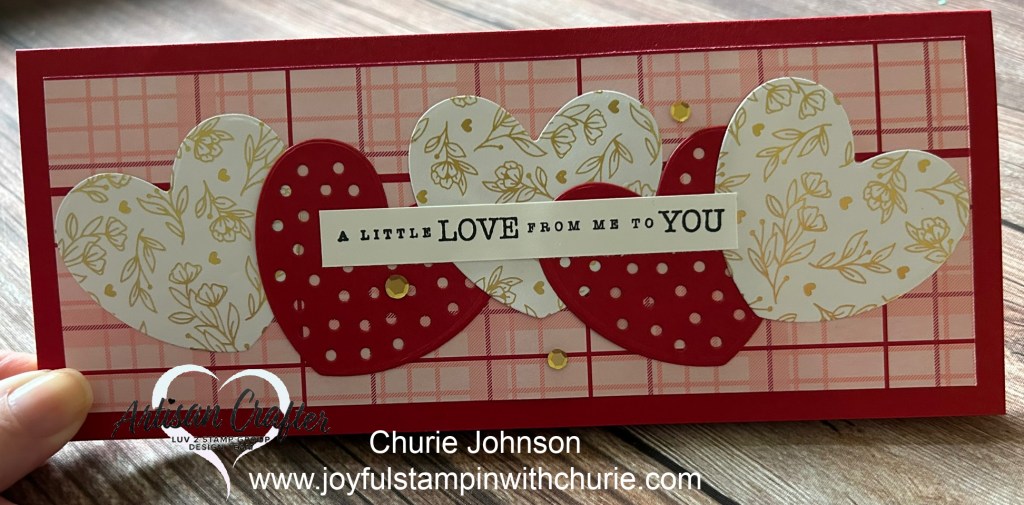
Valentine’s Day is right around the corner so I decided to have some fun with the Stampin’ Up Most Adored Designer Series Paper (DSP) which is one of the items you can earn for free during Sale-A-Bration with a minimum qualifying order. The colors I used for this slimline card is Real Red, Flirty Flamingo, and Gold. The hearts were created using the Stampin’ Up Hooray For Surprises dies. The sentiment, “A little love from me to you” is one of the stamps in the Sending Love stamp set.
Card measurements:
Card base: 7″ x 8.5″ (scored at 3.5″)
Designer Series Paper (front of card): 3″ x 8″
Designer Series Paper (inside of card): 3.25″ x 8.25″
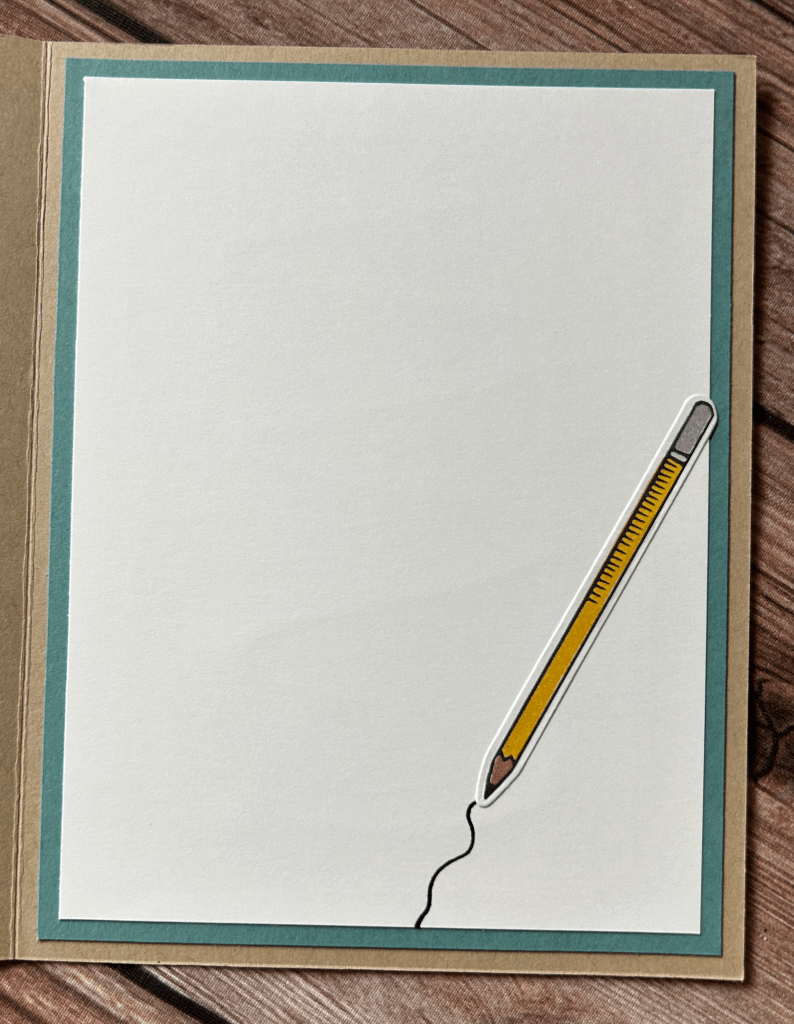
Basic White cardstock (inside of card): 3″ x 8″
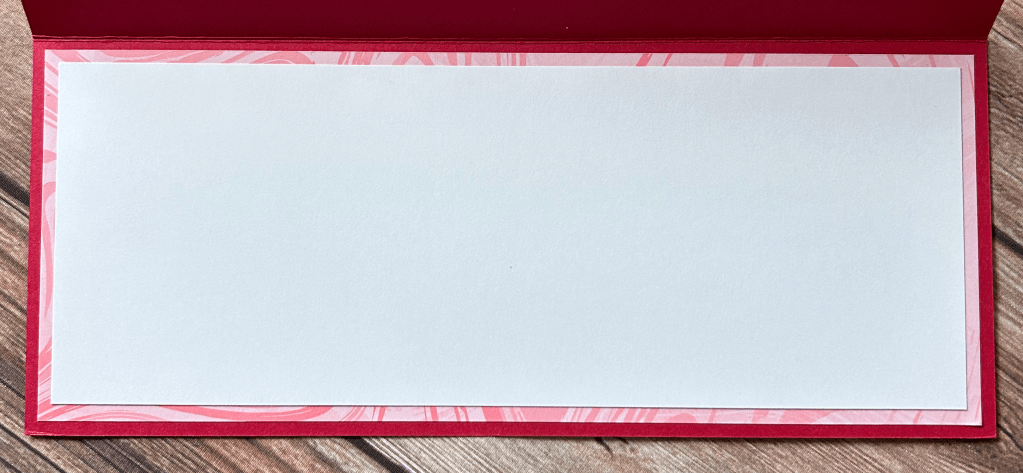
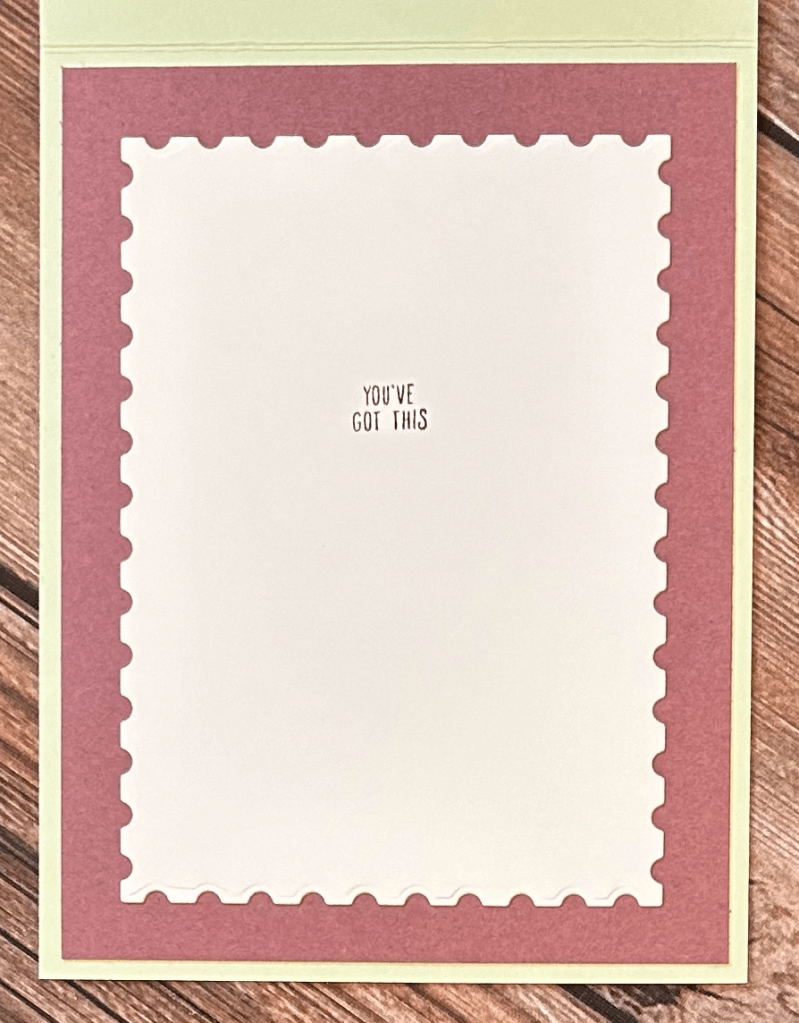
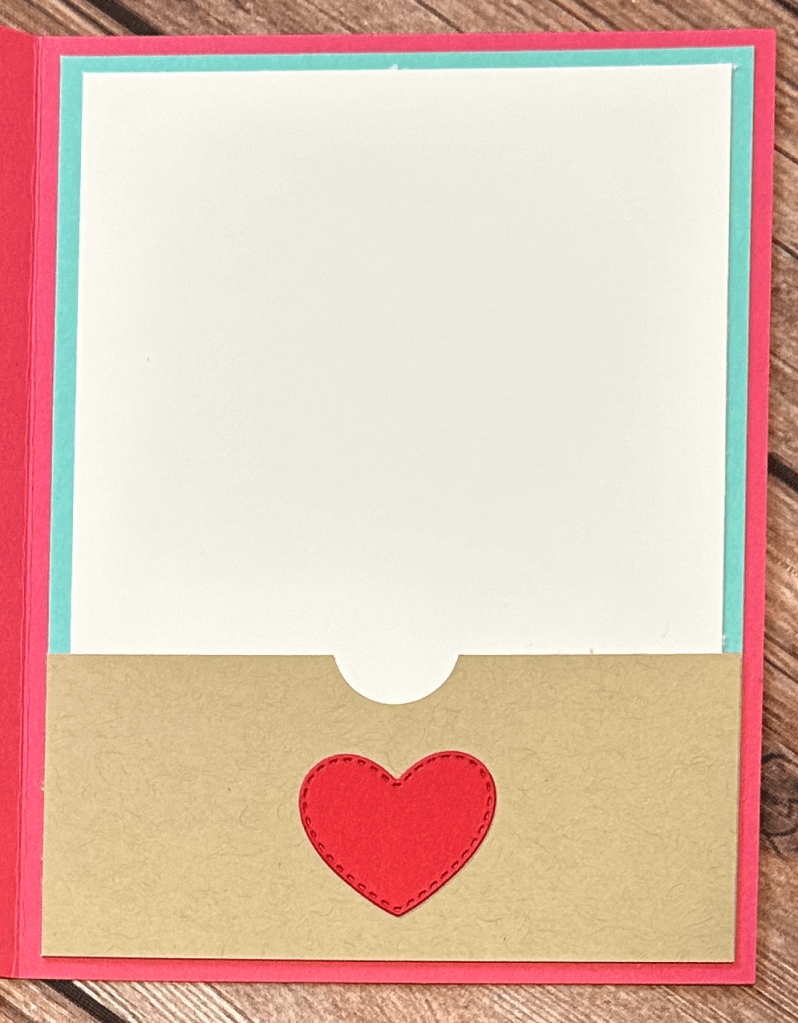
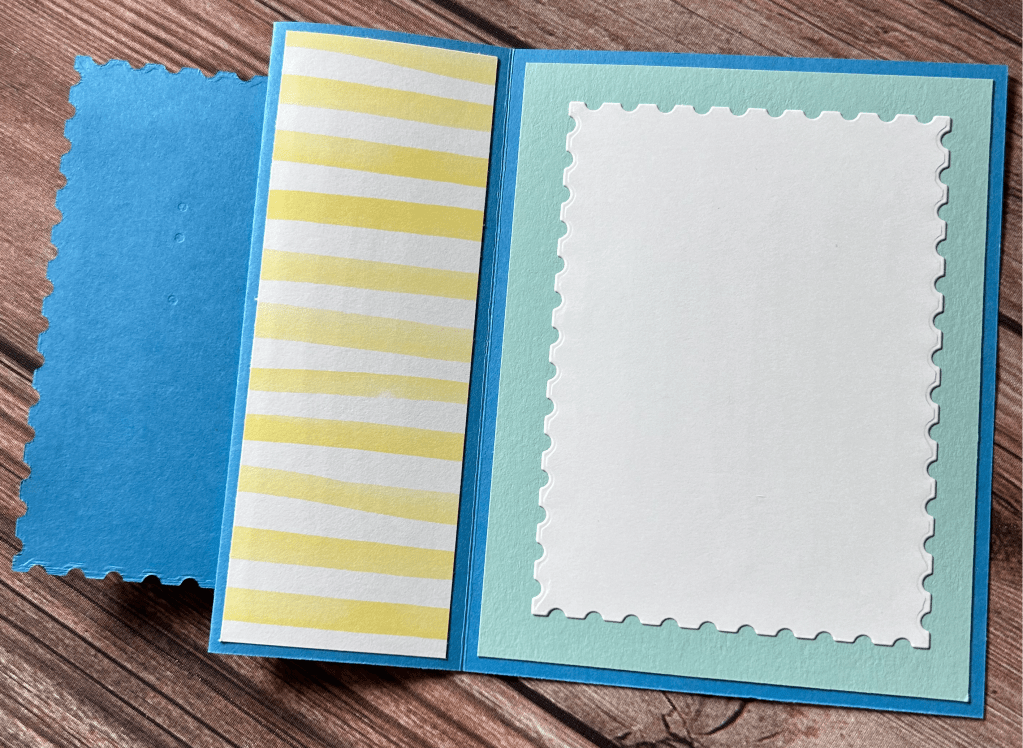
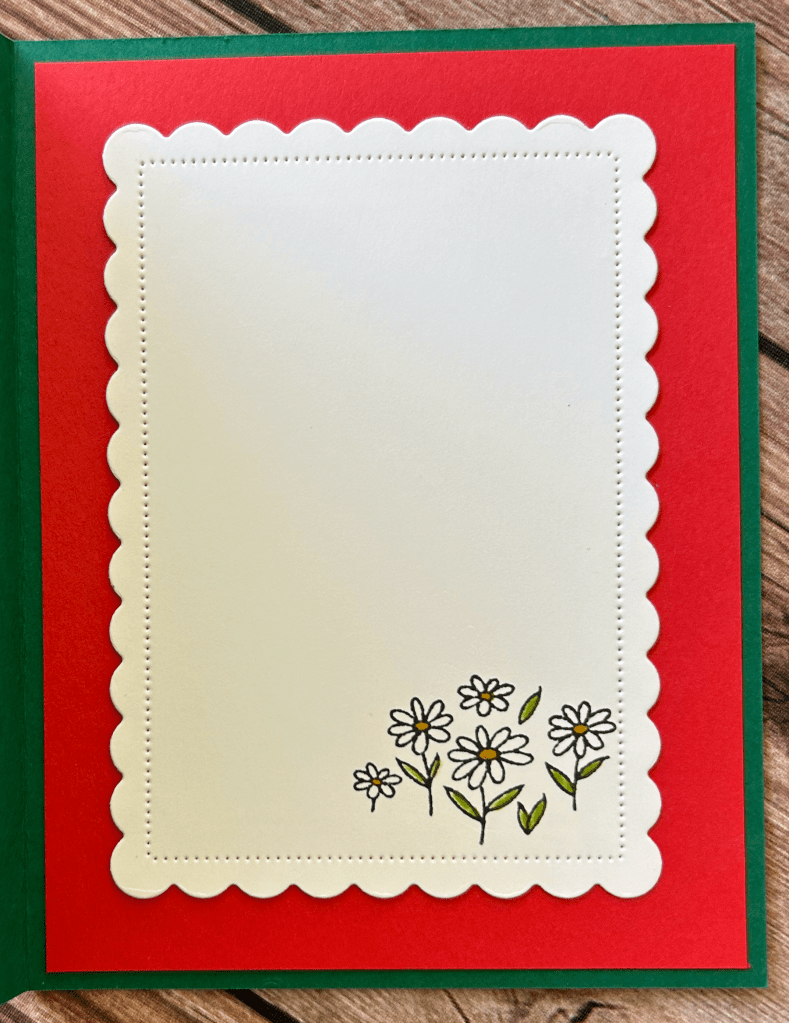
I decided to add some of the Most Adored Designer Series Paper to the inside of the card with Basic White cardstock layered on top of it. The Flirty Flamingo Swirl Designer Series Paper adds a little pizzaz to the inside of this card.
Below is a list of supplies I used to create this card. Happy Stamping! 🙂