Sunshine & Tulips Project 4

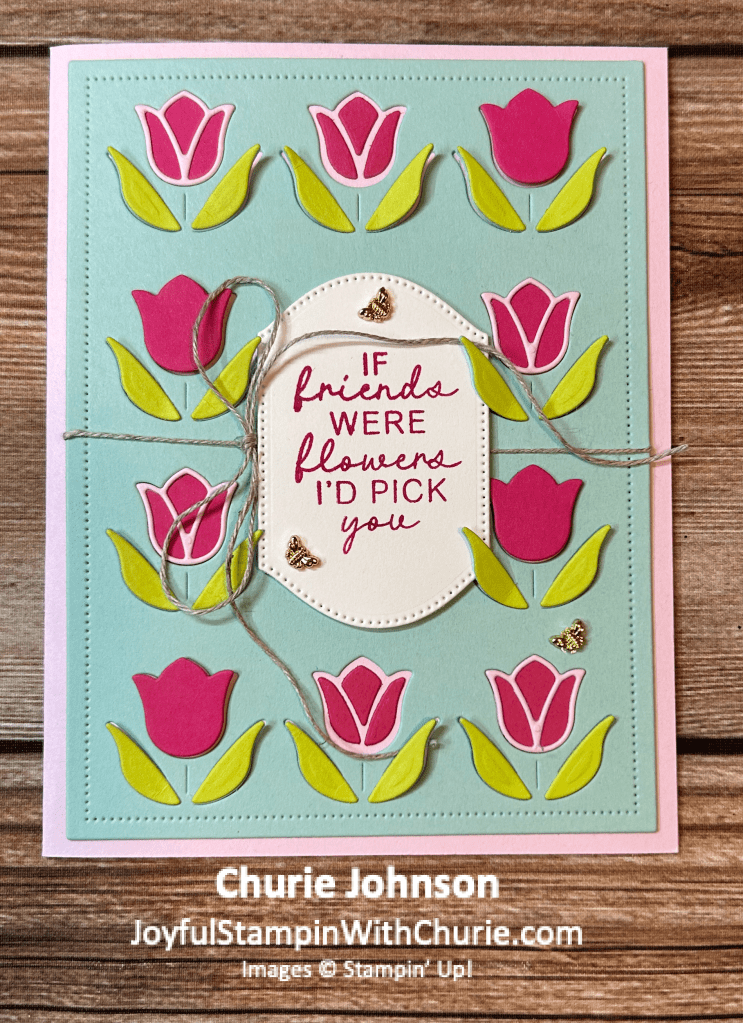
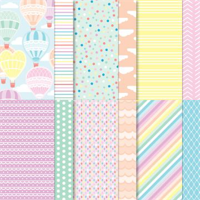
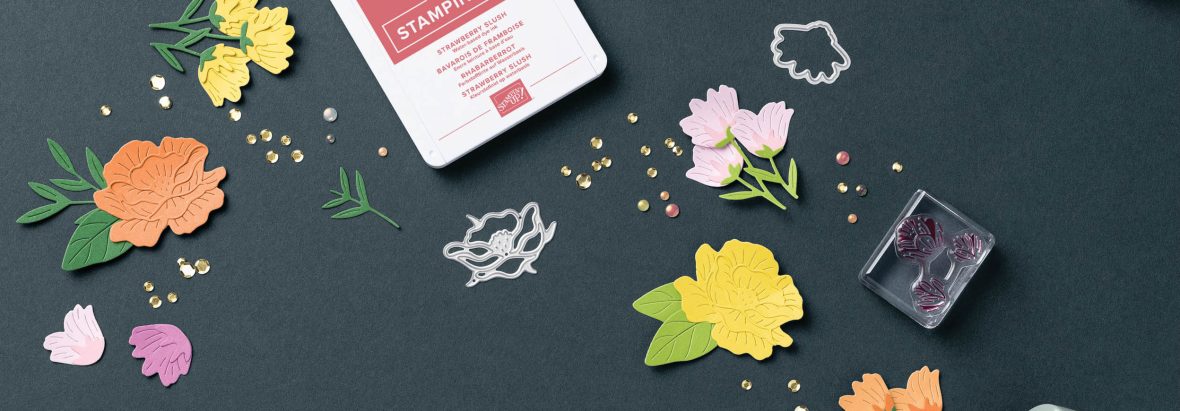
For this card featuring the Stampin’ Up Sunshine & Tulips bundle I decided to use the True Blue Florals 12″ x 12″ Designer Series Paper (DSP) which was the December Product of the Month that is still available to purchase for $5.00 (while supplies last) when you place a qualifying Stampin’ Up order of $75.00.

The colors I used for this card are the following:

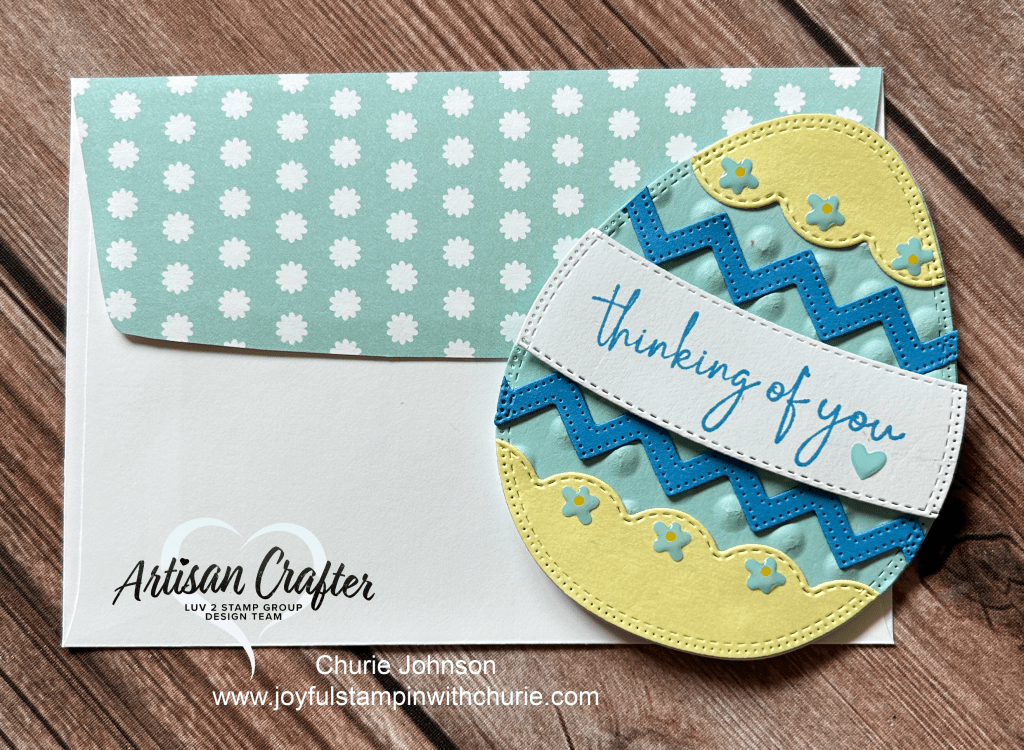
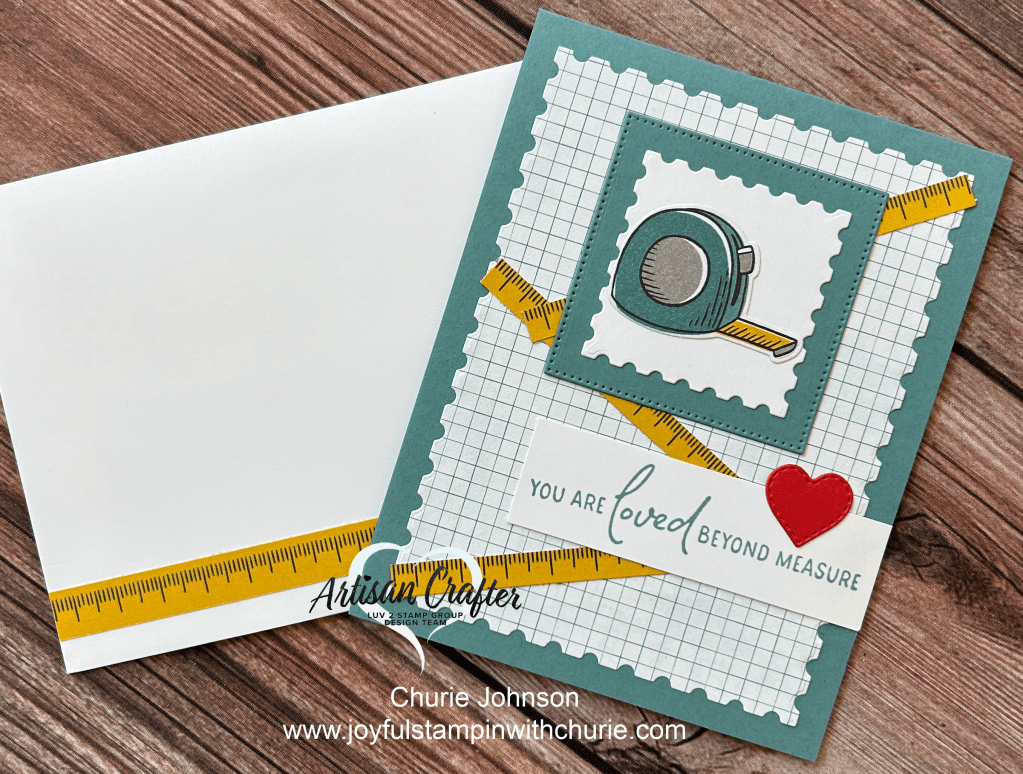
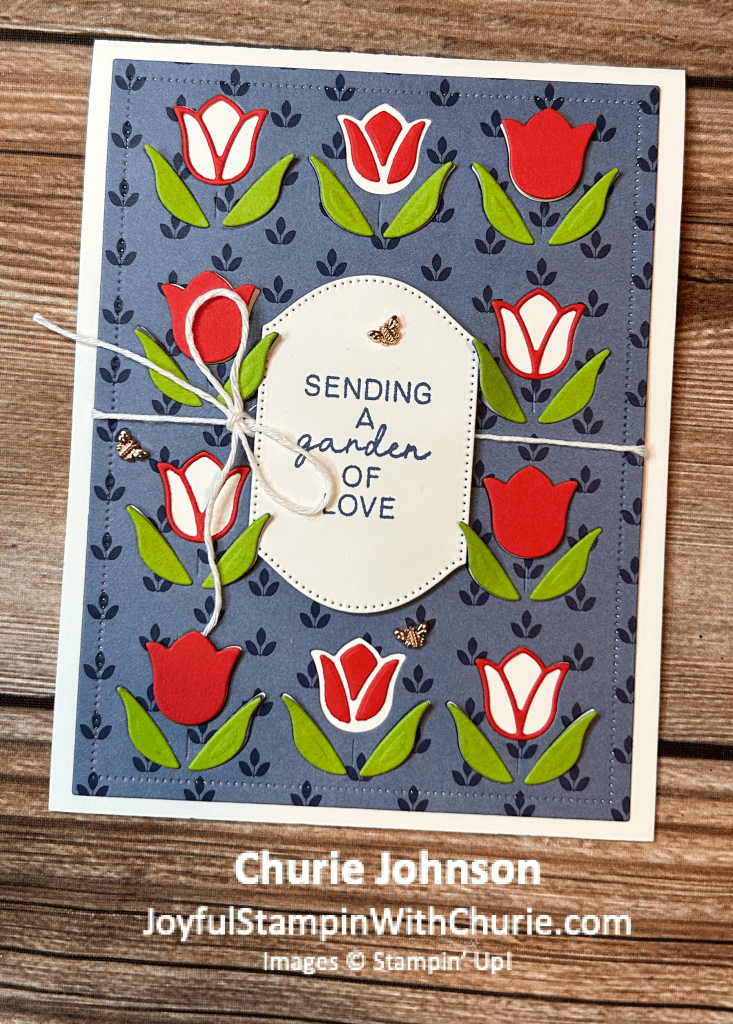
The measurement for this card:

Cardbase (Basic White): 11″ x 4..25″ scored at 5.5″

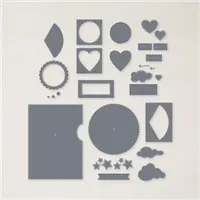
True Blue Florals Designer Series Paper (DSP) Layer: The large Sunshine & Tulips die cuts out this whole piece.

Sentiment Layer: The Sunshine & Tulip die cuts out the label.

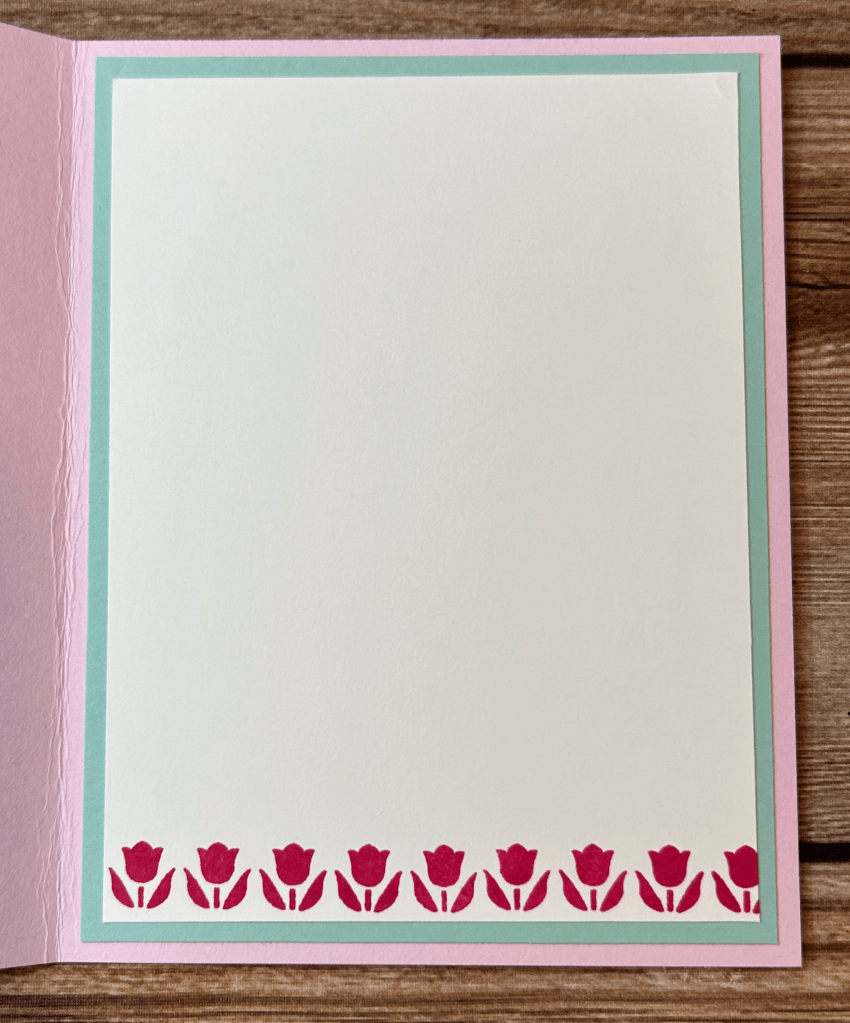
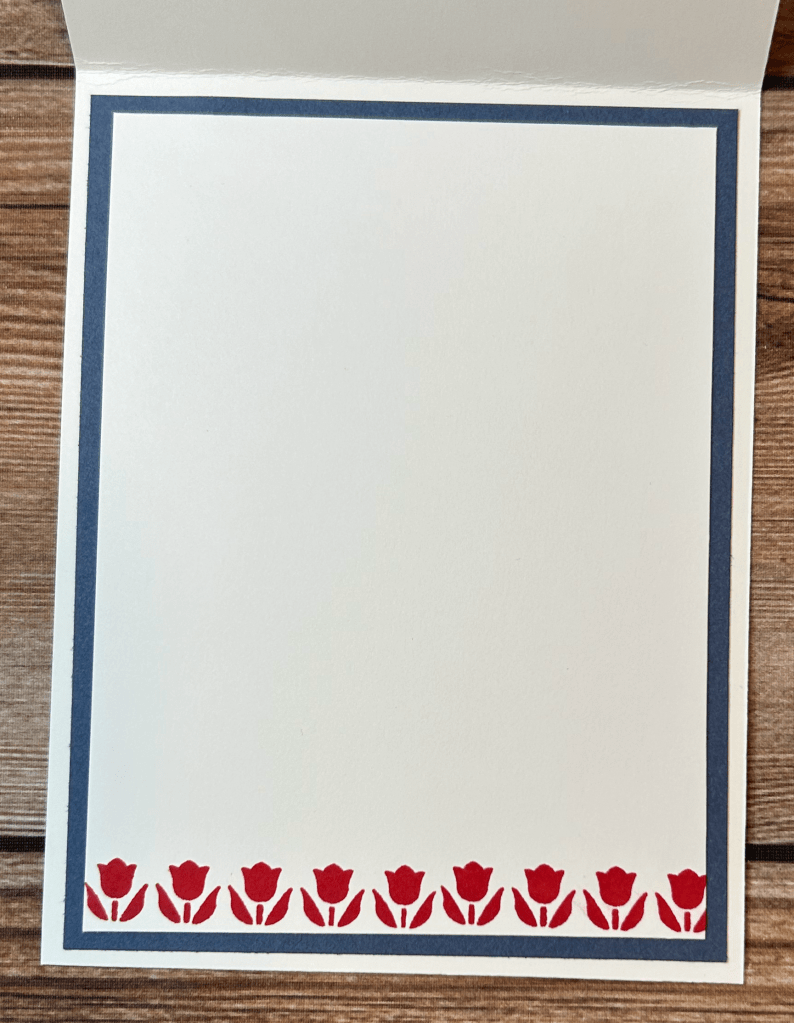
Misty Moonlight Layer (inside of the card): 4″ x 5.25″

Basic White Layer (inside of the card): 3.75″ x 5″

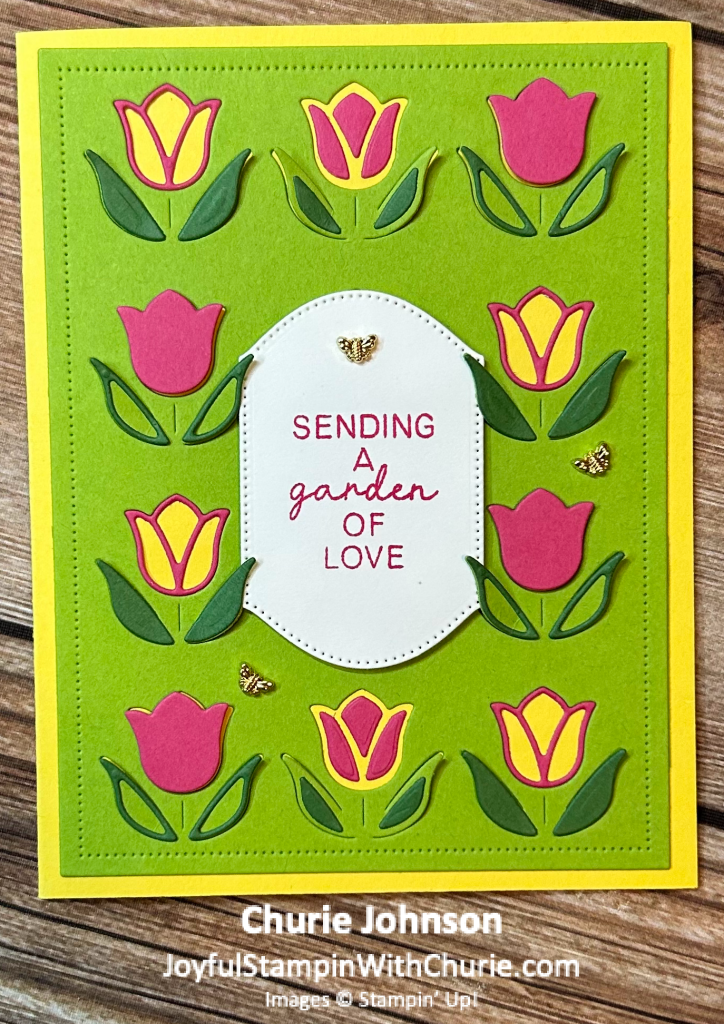
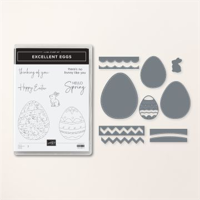
You will need to die cut one piece of the True Blue Florals Designer Series Paper (DSP) and one piece of Poppy Parade cardstock with the large Sunshine & Tulips die.

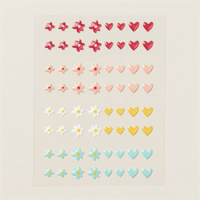
I used mini Stampin dimensionals behind the Poppy Parade tulips to give the card some more dimension. I used the regular Stampin dimensionals behind the sentiment label. Lastly, I used multipurpose glue to adhere the tiny bee trinkets to the card.

You will want to adhere an adhesive sheet to a piece of Poppy Parade cardstock (this will be used to die cut the outline of the tulips) and a piece of Granny Apple Green cardstock (this will be used to die cut the leaves). You can use liquid glue for this step, but I have found it much easier to use the adhesive sheets.

The supplies I used to create this cute card are the following:

Happy stampin’! 🙂

Sunshine & Tulips Project 3

I just love all the different color combinations you can use with the Stampin Up Sunshine & Tulips bundle. The colors I used for this card are the following:

Card Measurements:

Cardbase: 8.5″ x 5.5″ scored at 4.25″

Pool Party Layer: The large Sunshine & Tulips die cuts out this whole piece.

Sentiment Layer: The Sunshine & Tulips die cuts out the label.

Pool Party Layer (inside of card): 4″ x 5.25″

Basic White Layer (inside of card): 3.75″ x 5″

You will need to die cut one piece of the Pool Party cardstock and one piece of Melon Mambo cardstock with the large Sunshine & Tulips die.

I used mini Stampin’ dimensionals behind the Melon Mambo tulips to give the card some more dimension. I used the regular Stampin dimensionals behind the sentiment label. Lastly, I used multipurpose glue to adhere the tiny bee trinkets to the card.

You will want to adhere an adhesive sheet to a piece of Melon Mambo cardstock (this will be used to die cut the outline of the tulips) and a piece of Lemon Lime Twisit cardstock (this will be used to die cut the leaves). You can use liquid glue for this step, but I have found it much easier to use the adhesive sheets.

Supplies I used to create this project are the following:

Sunshine & Tulips Project 2

The color combination I used for this Sunshine & Tulips card is the following:

Card measurements:

Cardbase: 8.5″ x 5.5″ scored at 4.25″

Granny Apple Green Layer: The large Sunshine & Tulips die cuts out this whole piece.

Sentiment Layer: The Sunshine & Tulips die cuts out the label.

Melon Mambo layer (inside of card): 4″ x 5.25″

Basic White layer (inside of card): 3.75″ x 5″

You will need to die cut one piece of Granny Apple Green cardstock and one piece of Melon Mambo cardstock with the large Sunshine & Tulips die.

I used mini Stampin’ dimensionals behind the Melon Mambo tulips to give the card more dimension. I used the regular Stampin’ dimensionals behind the sentiment label. Lastly, I used multipurpose glue to adhere the tiny bee trinkets to the card.

You will want to adhere an adhesive sheet to a piece of Melon Mambo cardstock (this will be used to die cut the outline of the tulips) and a piece of Garden Green cardstock (this will be used to die cut the leaves). You can use liquid glue for this step, but if is much easier to use the adhesive sheets.

The supplies I used to create this spring card are below:

Happy stamping! 🙂

Sunshine & Tulips Project 1

I am not sure about you, but I love flowers. One of my favorite flowers are tulips. When I lived overseas I had the opportunity to explore Holland and while I was there I went to the annual Tulip Festival. The tulips were absolutely beautiful.

When I saw the Stampin’ Up Sunshine & Tulips bundle in the 2026 Spring Mini Catalog I knew I needed to get it. This last week I was able to create several projects using this fun bundle.

For this first project I used the following Stampin’ Up Color Combination:

Measurements:

Cardbase: 8.5″ x 5.5″ scored at 4.25″

Lemon Lime Layer: The large Sunshine & Tulip die cuts out this whole piece.

Sentiment Layer: The Sunshine & Tulip die cuts out the label.

Melon Mambo Layer (inside of card): 4″ x 5.25″

White Layer (inside of card): 3.75″ x 5″

You will need to die cut one piece of Lemon Lime Twist cardstock and one piece of Melon Mambo cardstock with the large Sunshine & Tulip die.

I used mini Stampin’ dimensionals behind the Melon Mambo tulips to give the card more dimension. I used the regular Stampin’ dimensionals behind the sentiment label. Lastly, I used multipurpose glue to adhere the tiny bee trinkets to the card.

You will want to adhere an adhesive sheet to a piece of Melon Mambo cardstock (this will be used to die cut the outline of the tulips) and a piece of Garden Green cardstock (this will be used to die cut the leaves). You can use liquid glue for this step, but it is a thousand times easier and a lot more enjoyable to create this card if you use the adhesive sheets.

The supplies I used to create this fun card are below:

Bistro Burger Slimline Card 1

What a fun Stampin’ Up bundle: Bistro Burger! 🙂 I was selected as one of the three guest stampers in the Luv 2 Stamp Group to create projects using different Stampin’ Up bundles in the 2024 annual catalog. This is the bundle I will be creating 6 projects with during the month of August.

The color combination I used for this slimline card is the following:

Measurements:

Cardbase: 7″ x 8 1/2″ (scored at 3.5″)

Basic Black layer: 3 1/8″ x 8 1/8″

Poppy Parade Layer: 3 1/4″ x 8 1/4″

Basic White Layer: 3″ x 8″

Poppy Parade squares: 1″

List of supplies to create this card is below. Happy stamping! 🙂

Spring Thinking of You Card

This week I decided to have some fun with the Stampin’ Up Excellent Eggs bundle. For this first card I used the largest egg die to create the card base. To create the card base, I took a 6″ x 4″ piece of thick white cardstock and scored and folded it at 3″. Then I placed the egg die on top of the white cardstock (leaving part of the egg die off the folded edge of the thick white cardstock). Lastly, I die cut it out using the Stampin’ Up Cut and Emboss Machine. After creating the card base, I die cut an egg from Pool Party, Lemon Lolly, Azure Afternoon, and Basic White cardstock. The Pool Party egg, I decided to add some texture to it by embossing it with the polka dot embossing folder from the Basics 3D Embossing Folders pack. I then die cut various designer shapes for the eggs using the Excellent Eggs dies and decorated the Pool Party Egg. I stamped the Thinking of You sentiment using the Azure Afternoon stamp pad onto the white decorative piece I created with the dies. Lastly, I adhered everything together. I decided to use Stampin’ Dimensionals to raise up the sentiment piece on the front of the card.

Color Combination:

For the inside of the card, I decided to adhere a Pool Party egg onto the card base to add some color.

Supplies I used to create this cute card are the following:

You Are Loved Beyond Measure Card

Today I wanted to have some fun with the Stampin’ Up Trusty Toolbox 12″ x 12″ Designer Series Paper (DSP) which is a product you can earn with a qualifying purchase during Sale-A-Bration. For this card I paired the Trusty Toolbox DSP with the Perennial Postage bundle. The color combination I used for this card is below:

The card base is 11″ x 4.25″ (scored at 5.5″). The grid paper, from the Trusty Toolbox DSP, layer of the card was created by using the Perennial Postage dies. The strips of tape measure were cut from the Trusty Toolbox DSP using the Stampin’ Up Trimmer. The Lost Lagoon layer behind the measuring tape was die cut using the Stylish Shapes dies. The white square postage stamp layer was die cut using the Perennial Postage dies. The measuring tape was die cut from the Trusty Toolbox DSP using the Trusty Tools Dies. Next, the sentiment from the Perennial Postage stamp set was stamped in Lost Lagoon on a 1″ x 3.25″ piece of Basic White cardstock. Lastly, I used the heart die from the Give it a Whirl die set to die cut the heart out of Poppy Parade cardstock.

For the inside of the card I wanted to add a special touch. The Crushed Curry layer is 5″ x 3.75″. The white layer was die cut using the Perennial Postage dies. The Poppy Parade heart was die cut using the Give it a Whirl days.

Hope I was able to inspire you to have some fun with the Trusty Toolbox DSP. Happy stamping! 🙂

List of Supplies I used to create this cute card: