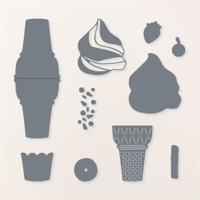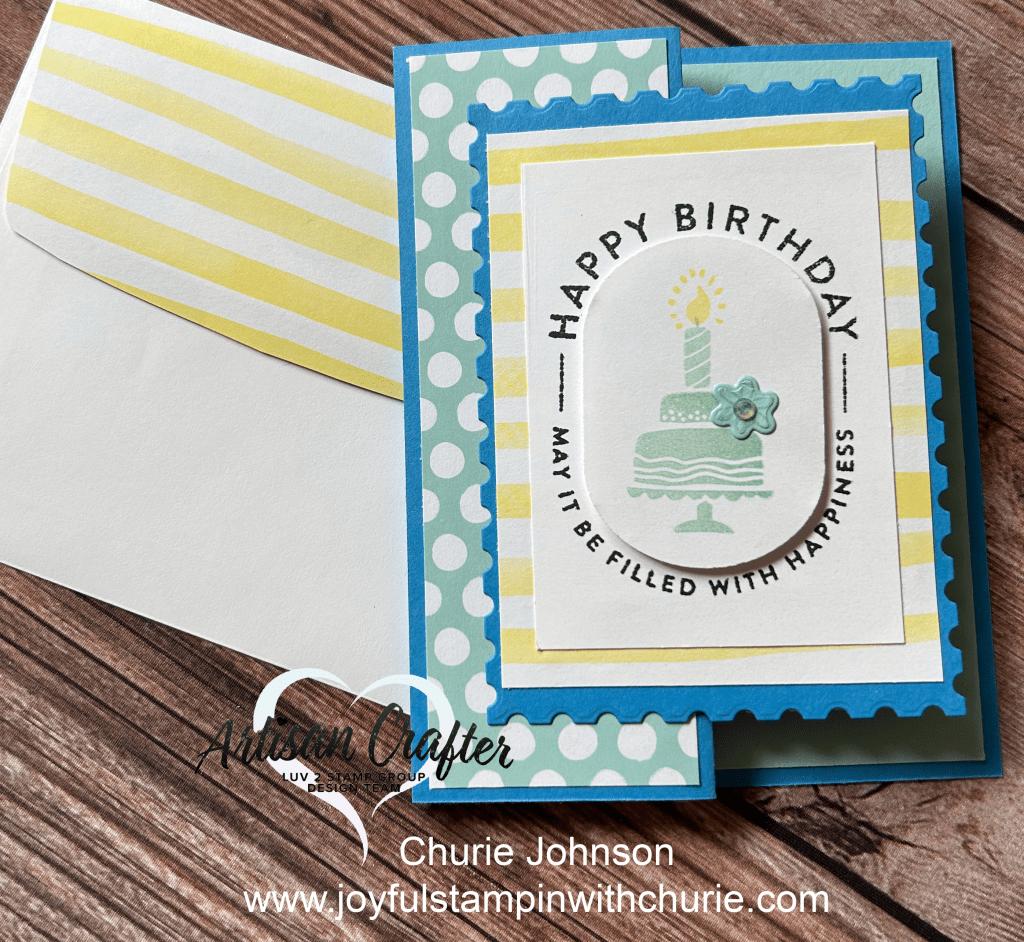
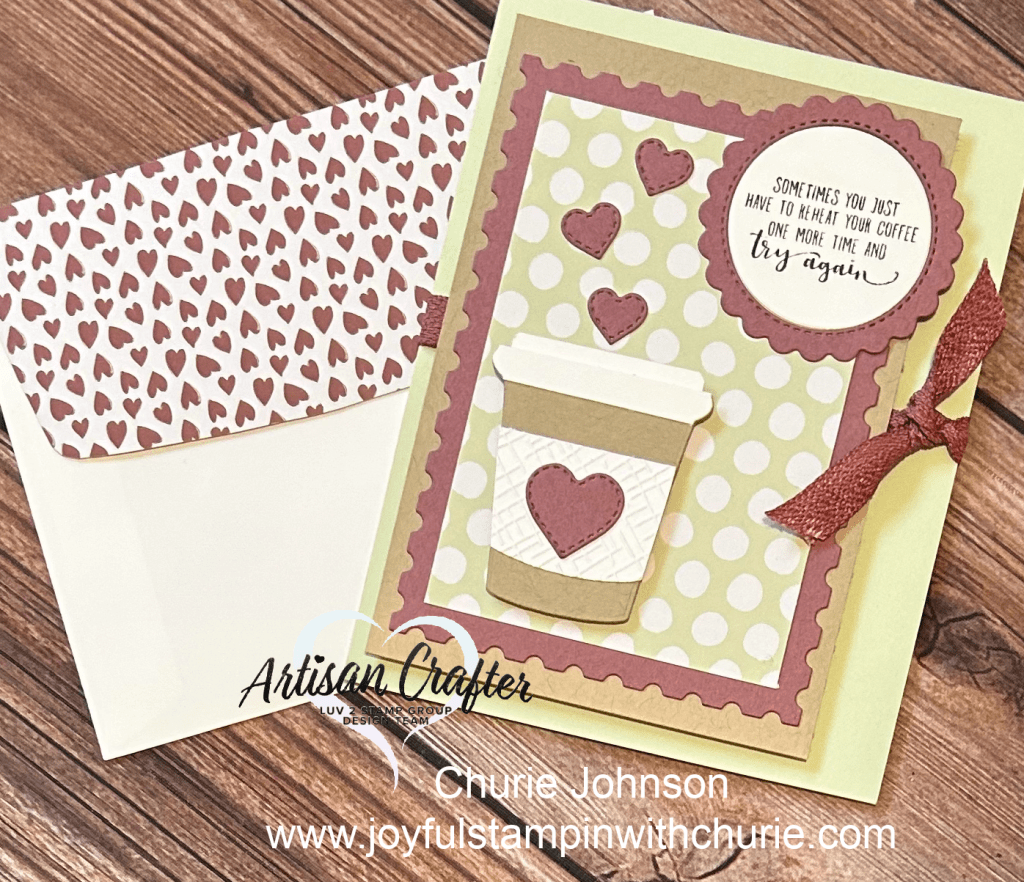
I made this cute card to encourage someone. I created the coffee cup using the Stampin’ Up ice cream cone die in the Ice Cream Swirl die set… yes, you read that correctly. 🙂 I used several Stampin’ Up die sets to make the card: Perennial Postage dies, Ice Cream Swirl dies, and Give it a Whirl dies. The sentiment, “Sometimes you just have to reheat your coffee one more time and try again,” is a part of the Stampin’ Up Coffee With Friends stamp set. To give this card some dimension, I raised the Crumb cake up using the Stampin’ Up Foam Adhesive Sheets.
The color combination I used for this card is the following:
The card measurements:
Card base: 11″ x 4.25″ (scored at 5.5″)
Crumb Cake layer: 5″ x 3.5″
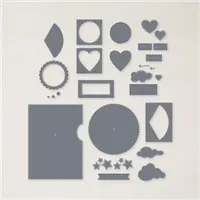
Moody Mauve layer: Perennial Postage Dies
Soft Sea Foam Designer Series Paper: 4″ x 2.75″
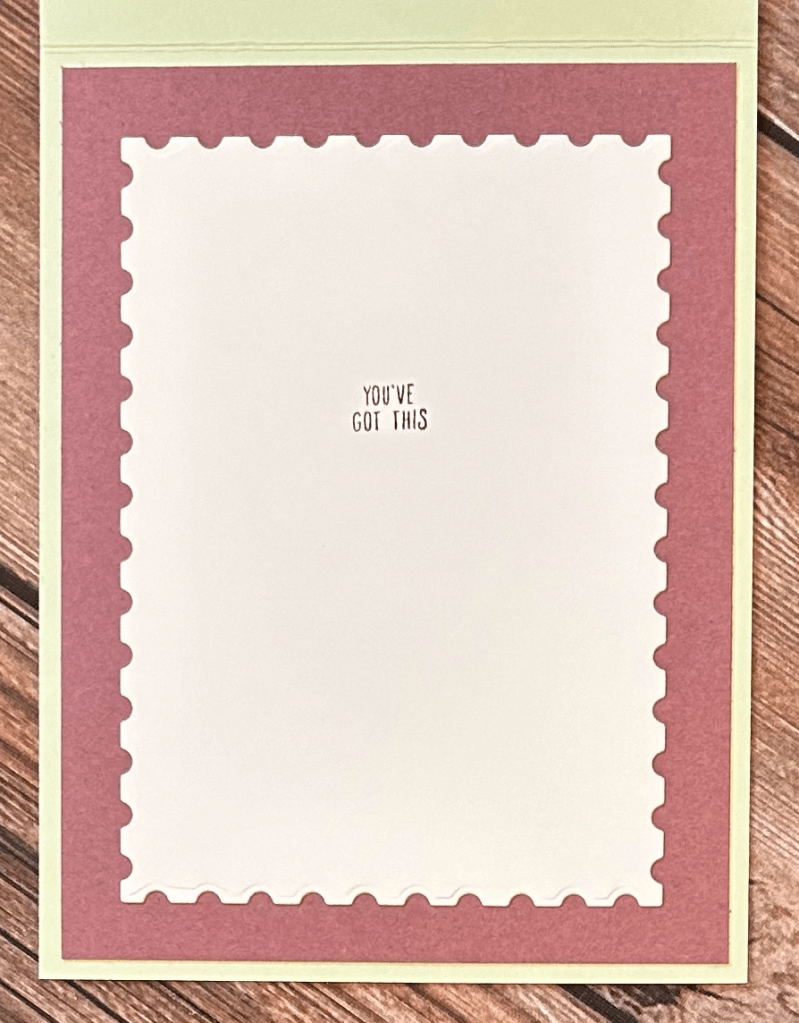
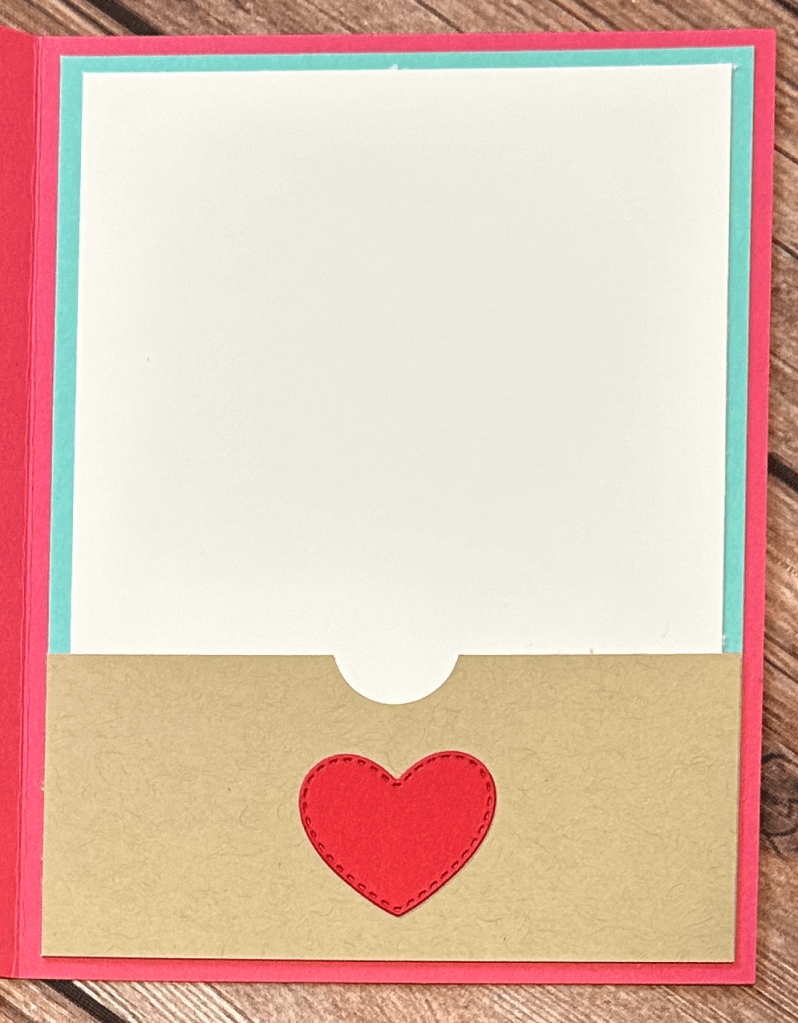
I just love this sentiment in the inside of this card, “You’ve got this,”. Sometimes people just need a little bit of encouragement.
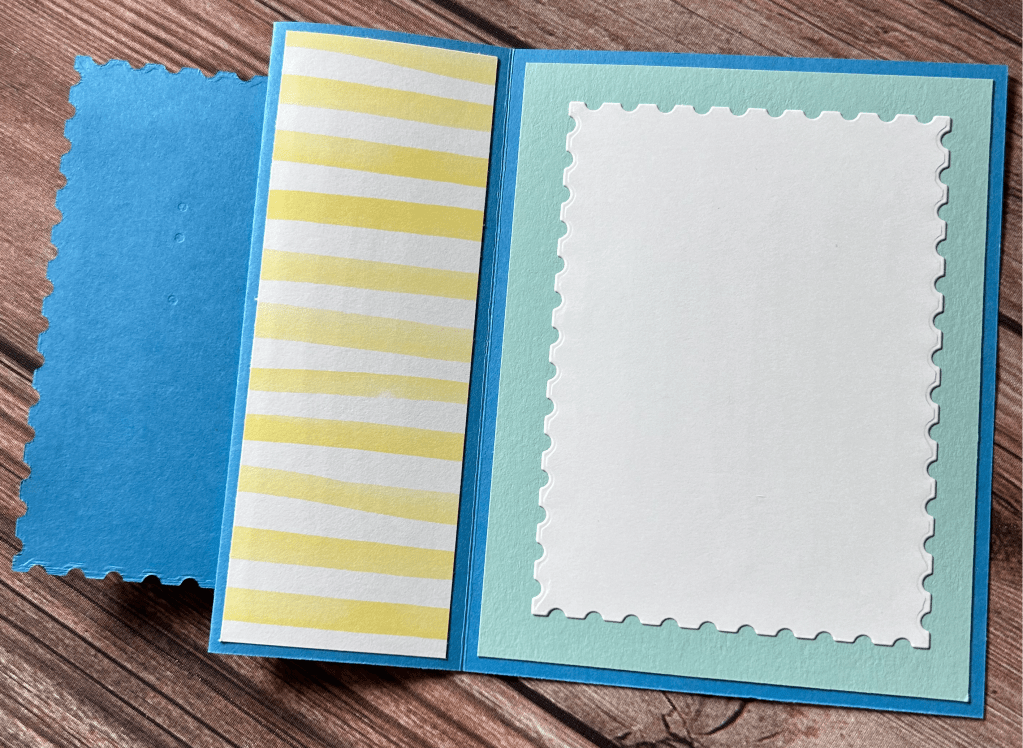
Inside card measurements:
Moody Mauve layer: 5.25″ x 4″
White layer: Perennial Postage Dies
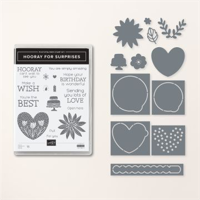
Below is a list of supplies I used to create this cute card. Happy stamping! 🙂