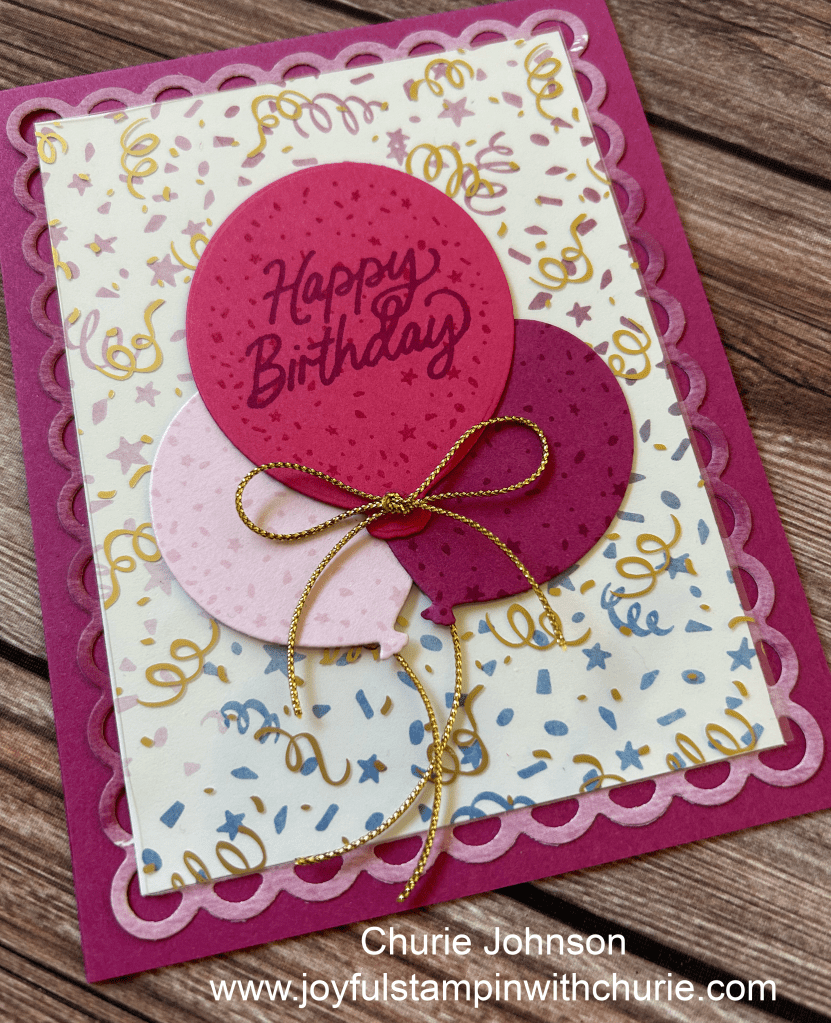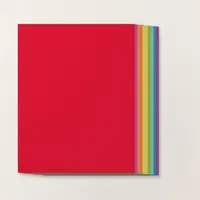
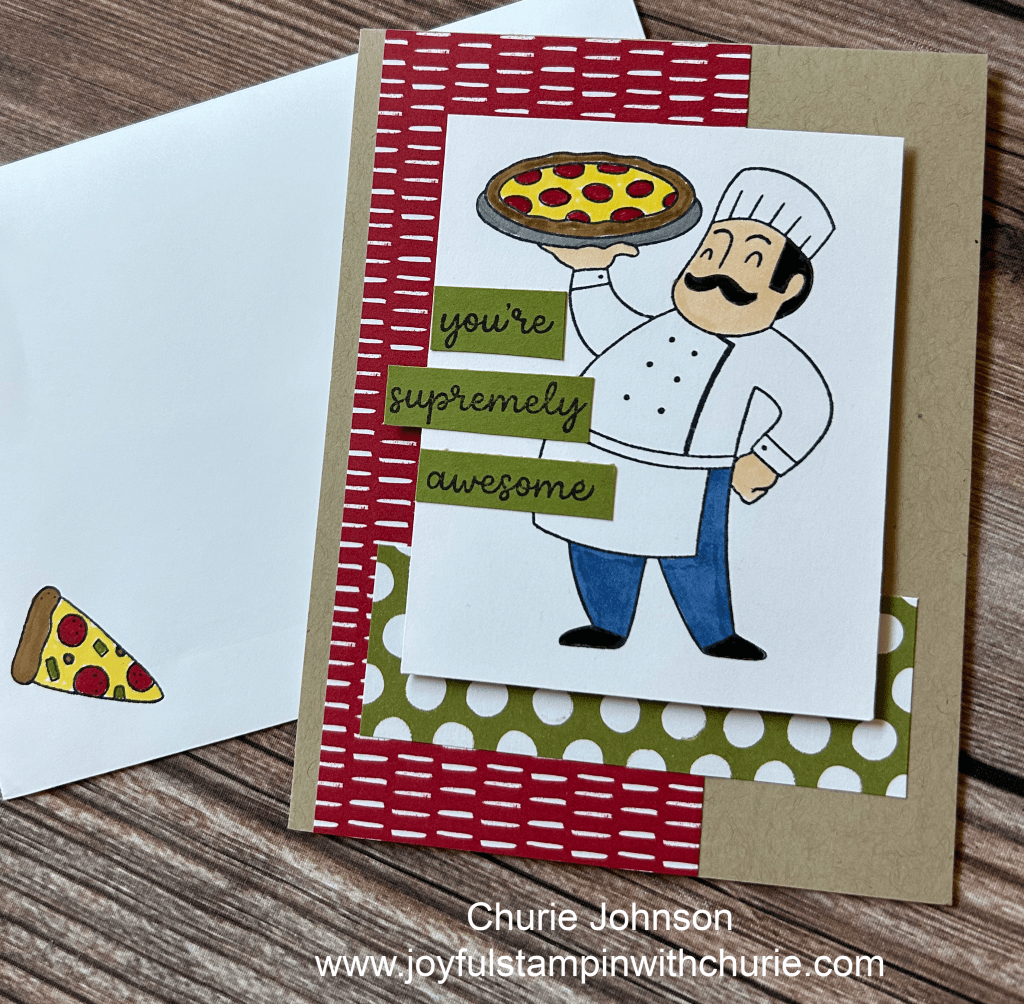
The Stampin’ Up Supremely Awesome stamp set is one of my favorites in the Stampin’ Up 2023-2024 Annual Catalog. Like who doesn’t like pizza? LOL To give this first card some pizzaz, I used some Real Red and Old Olive Designer Series Paper (DSP).
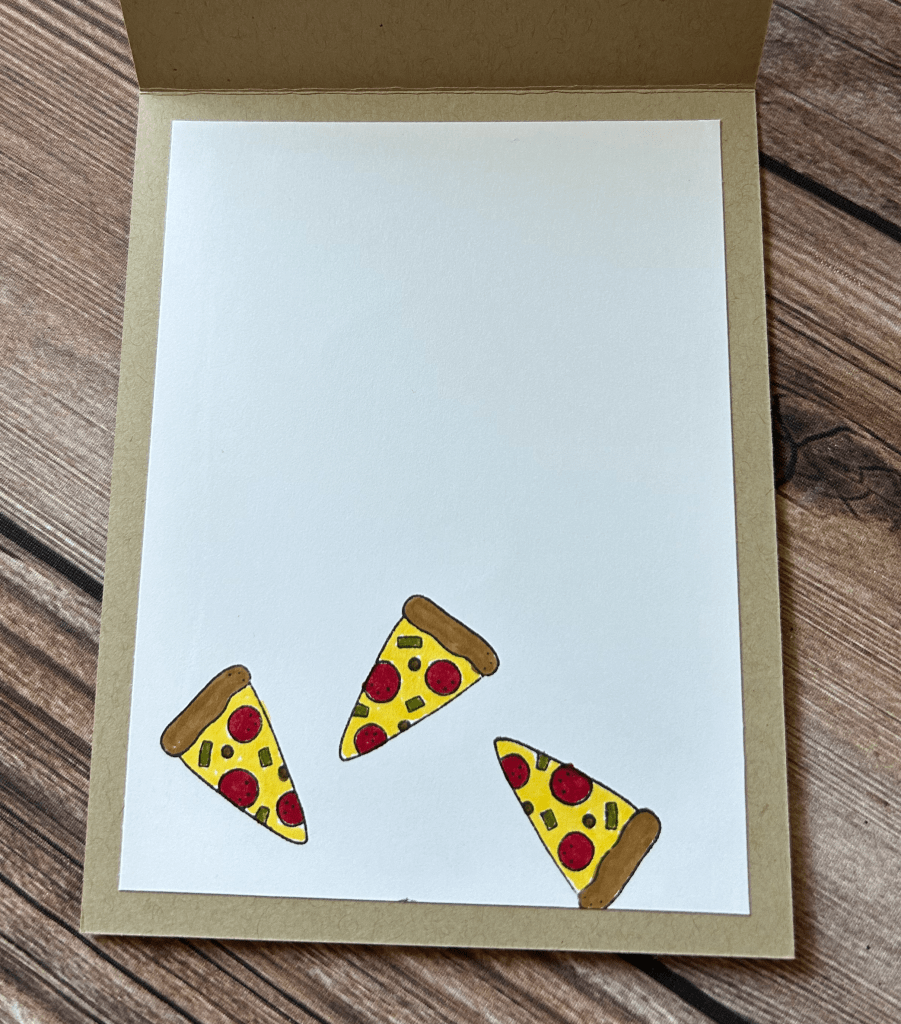
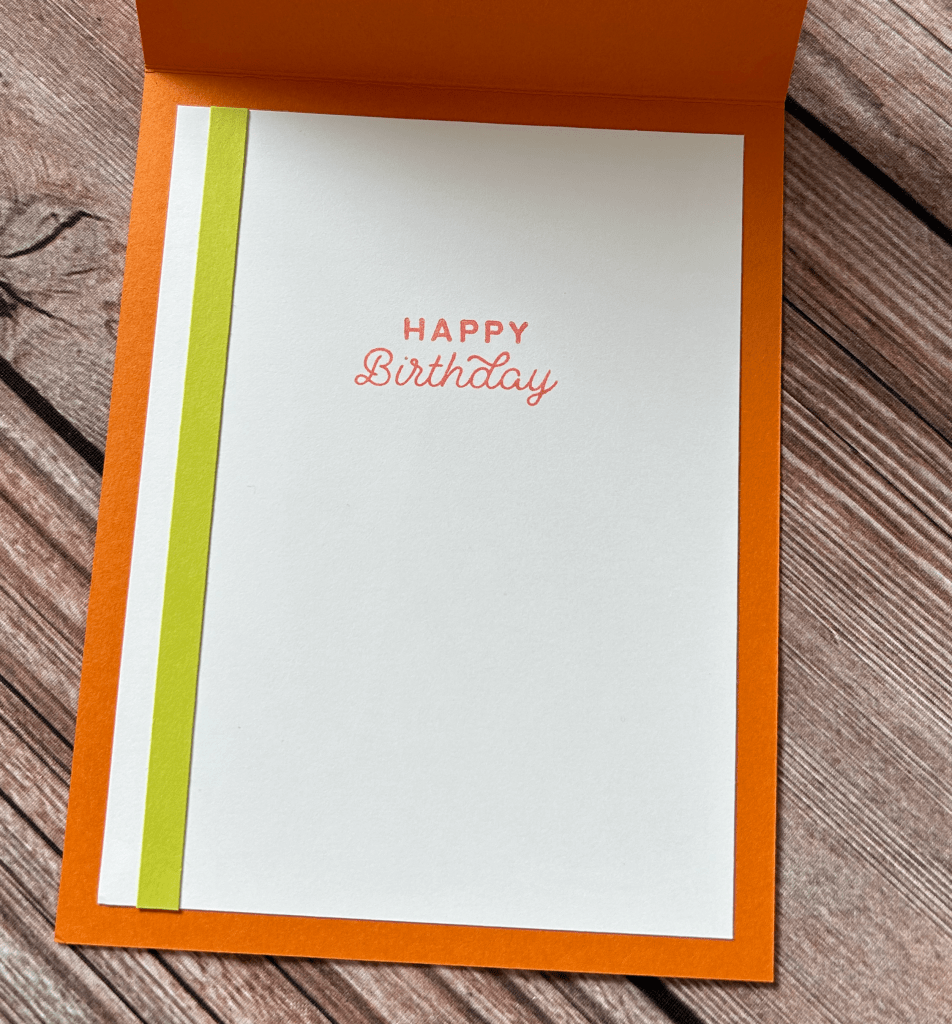
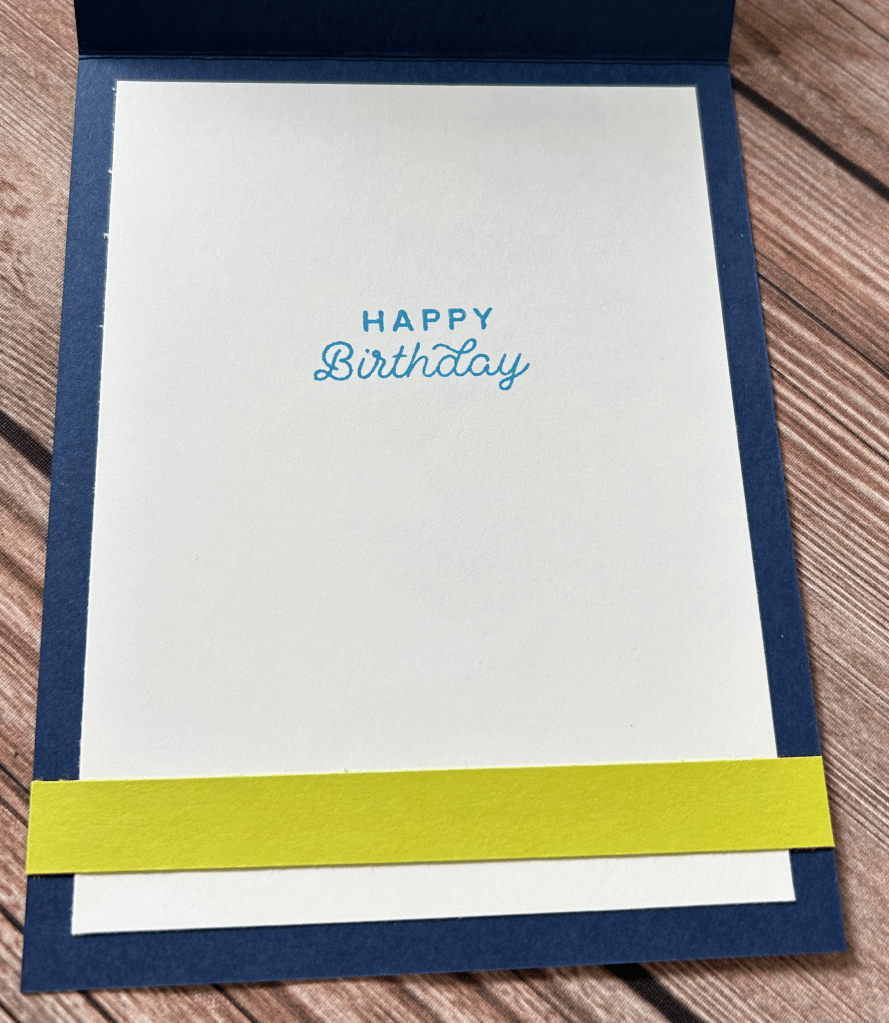
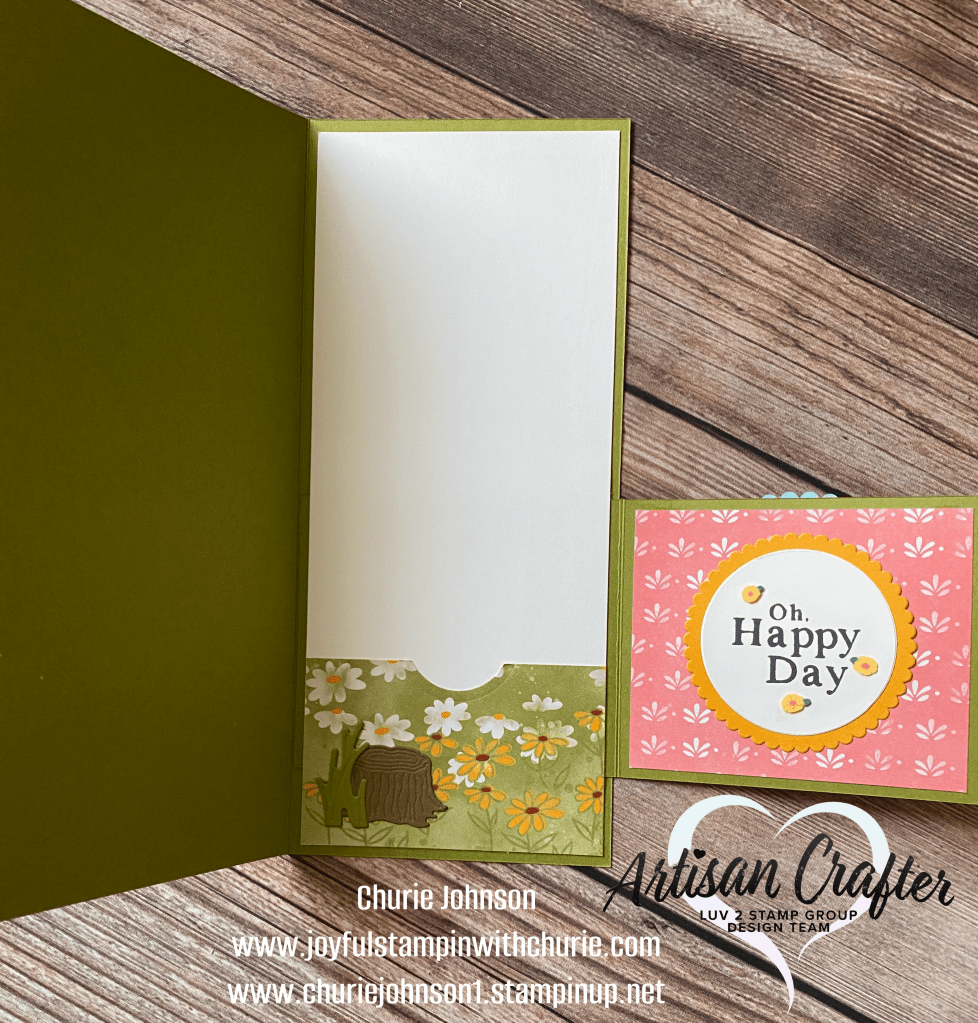
I could not help but to decorate the inside of the card with some slices of pizza. I didn’t add any sentiment inside this card because I wanted to have some space to write a personalized note.

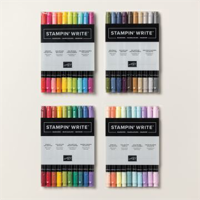
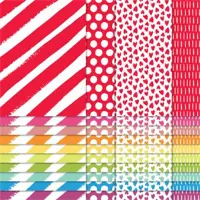
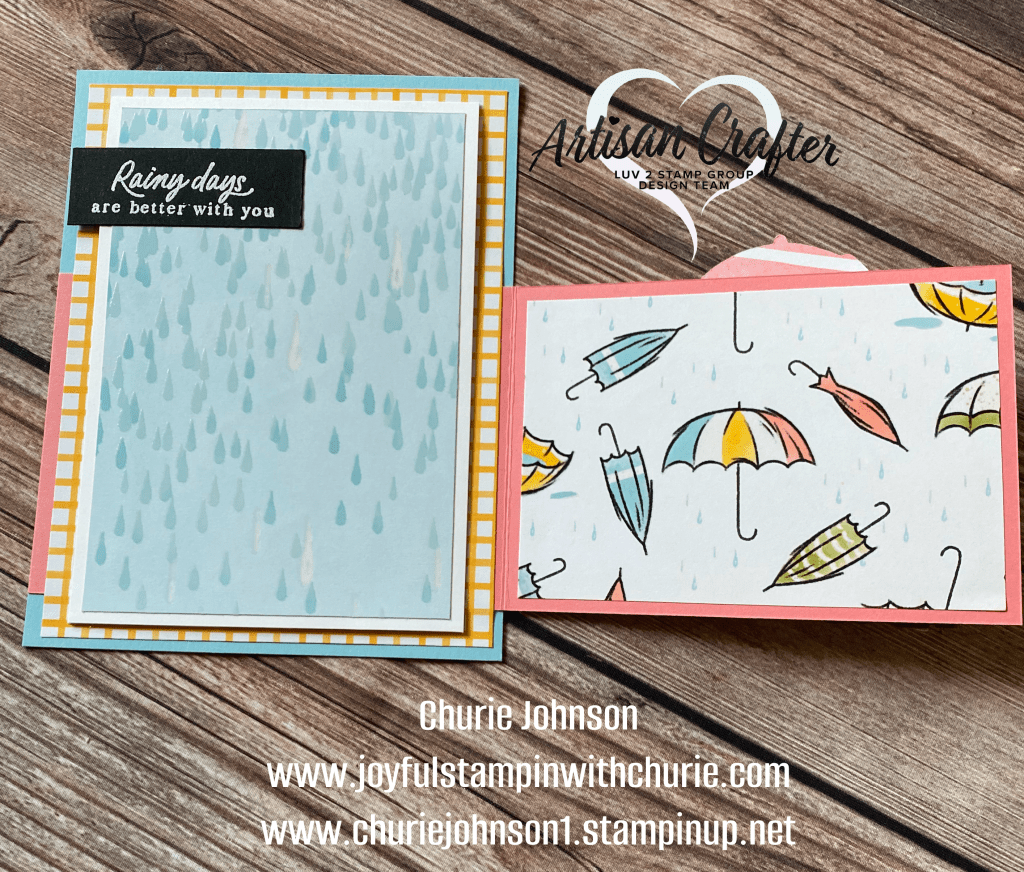
I had so much fun creating this second card. I enjoyed creating my own Designer Series Paper (DSP) using the larger piece of pizza and utensils images from the Supremely Awesome stamp set. The Stampin’ Write Markers were used to color in the images.
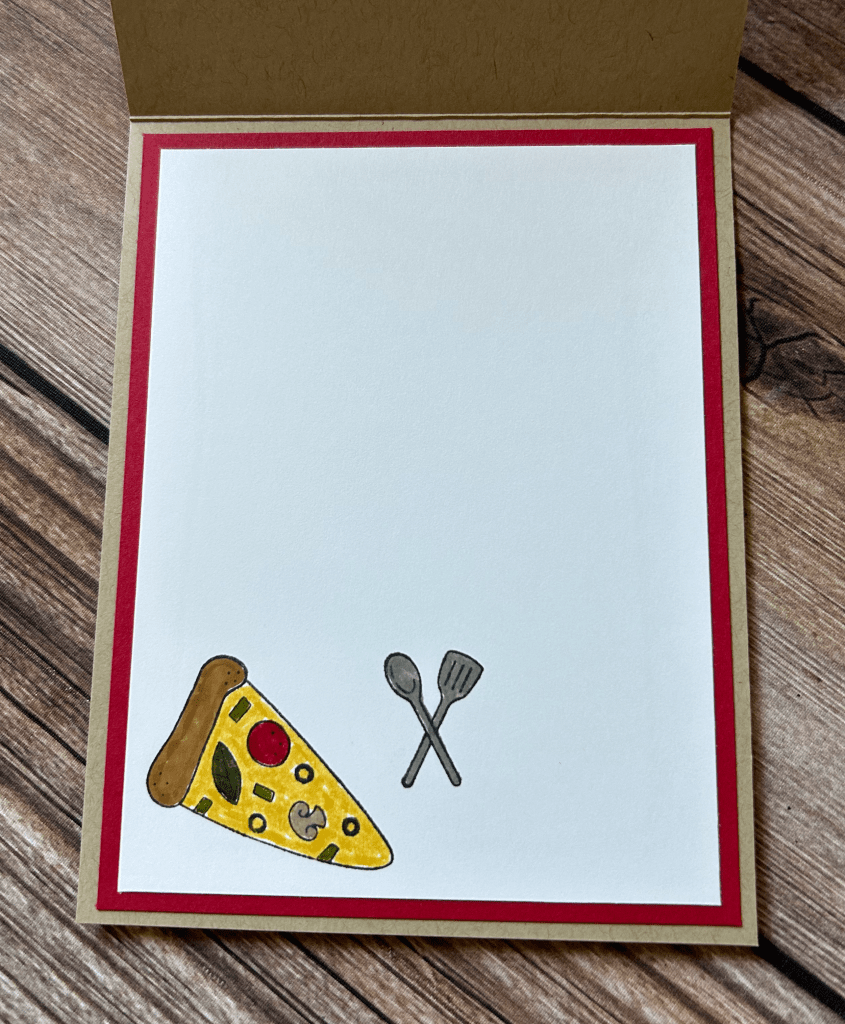
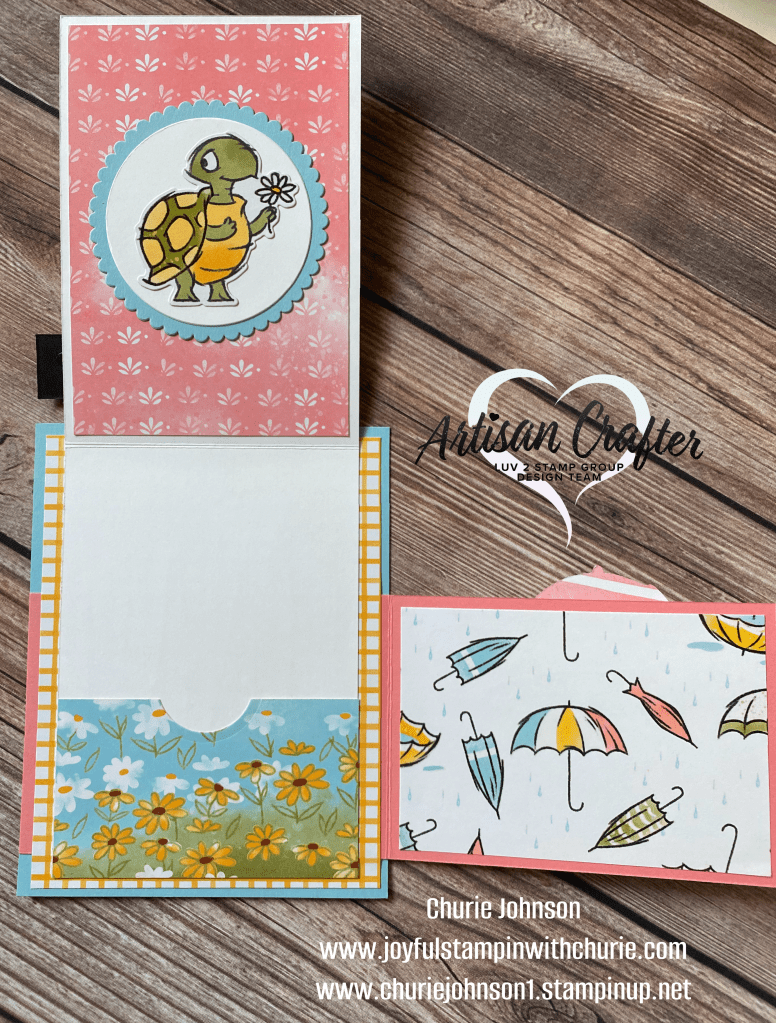
I added a slice of pizza and some utensils to the inside of the card.
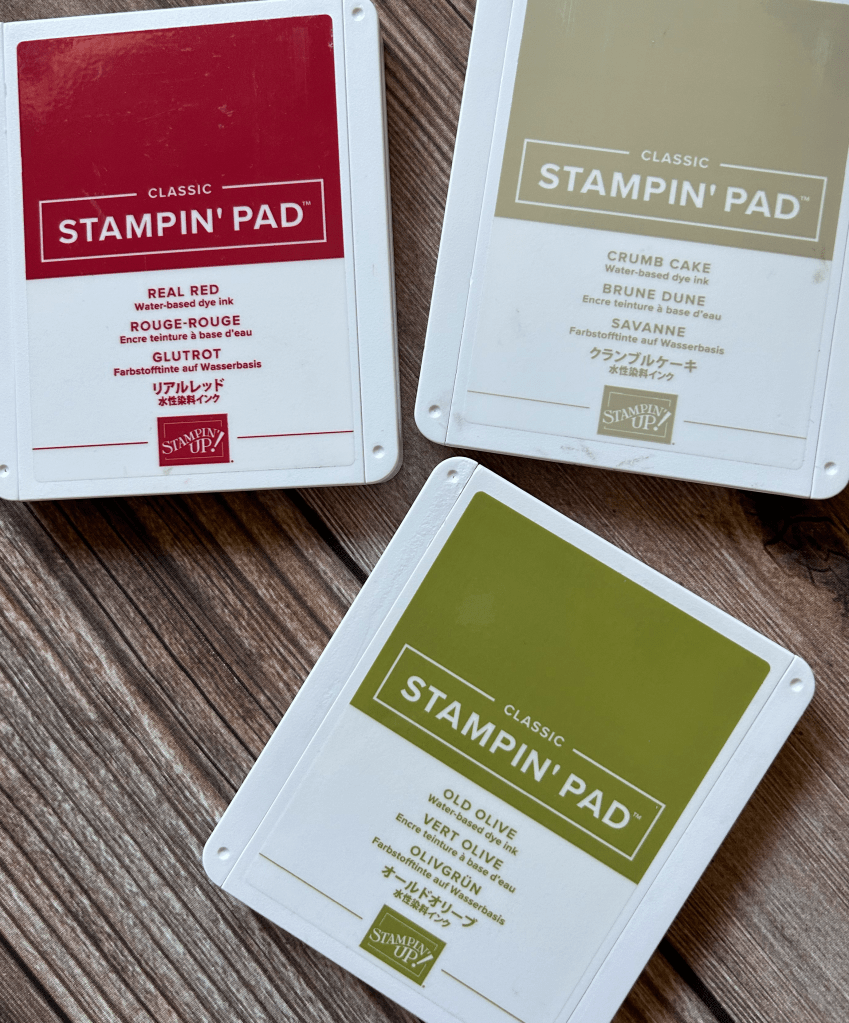
Color Combination: Real Red, Old Olive, and Crumb Cake

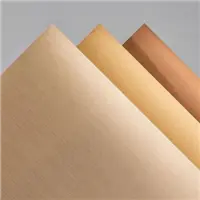
Picture of the Stampin’ Write markers I used to color the stamped images.
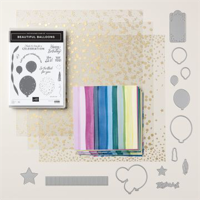
List of Stampin’ Up items I used to create these two fun pizza cards: