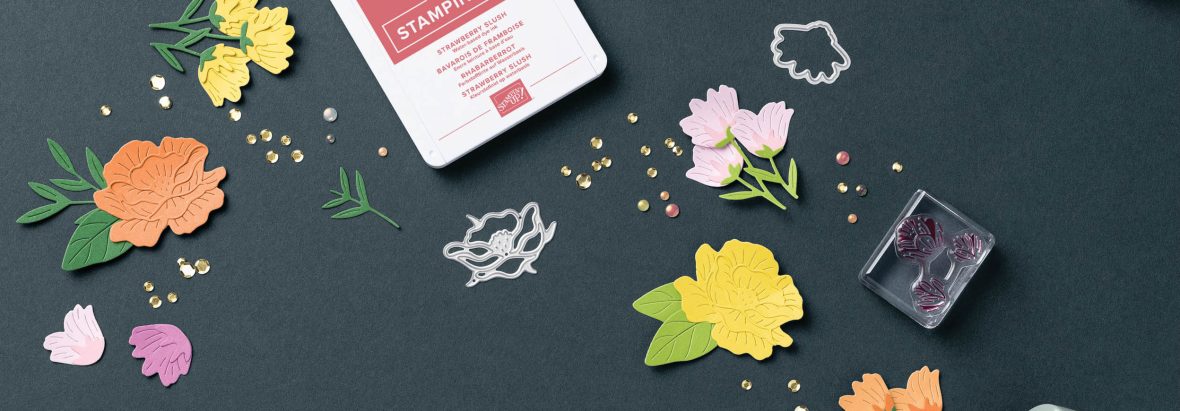
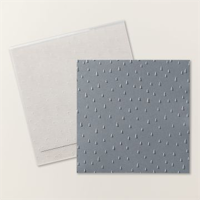
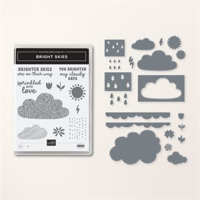
When I first saw the Stampin’ Up Bright Skies bundle the first thing that came to my mind was pairing it with the Playing in the Rain stamp set and dies and the Raindrops embossing folder which are in the Stampin’ Up 2023 -2024 Annual Catalog. The Playing in the Rain stamp set and dies are perfect to create some cute cards with.
The color combination I used to create this slimline card are the following:
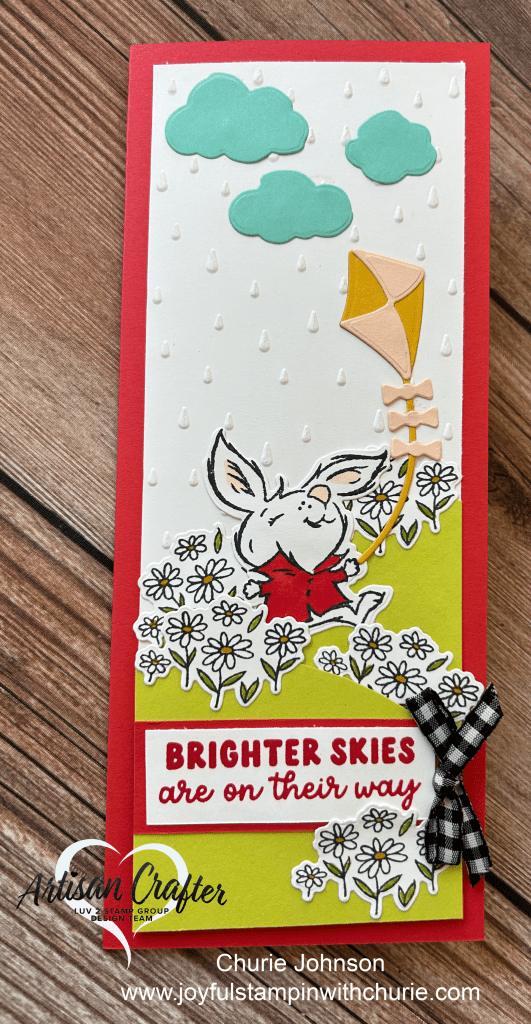
I was inspired to make this card from the Stampin’ Up Sale-A-Bration brochure. I just love the the Bright Skies bundle in the January – April 2024 Stampin’ Up Mini Catalog and the Sunny Days Designer Series Paper (DSP) that can be earned during Sale-A-Bration with a qualifying purchase.
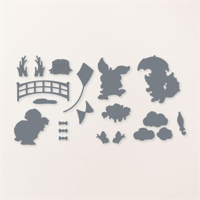
I used thick white cardstock for the card base (11″ x 4.25″ scored at 5.5″). Petal Pink DSP for the first layer (5.5″ x 4.25″). Basic white cardstock for the middle of the card (5.5″ x 3.25″). The raindrop DSP is 3″ x 3.25″. I used the cloud dies in the Brighter Skies bundle to die cut the clouds out of the Sunny Days DSP. The pool party cloud outline was created using cloud border die in the Brighter Skies bundle (measurement: 2″ x 3.25″). The sun was created by using the dies in the Brighter Skies bundle; the rays of the sun was die cut from Crushed Curry cardstock and the middle of the sun was die cut from Lemon Lolly cardstock. The sentiment was heat embossed on a Shaded Spruce label that was created by one of the label dies in the Something Fancy Dies.
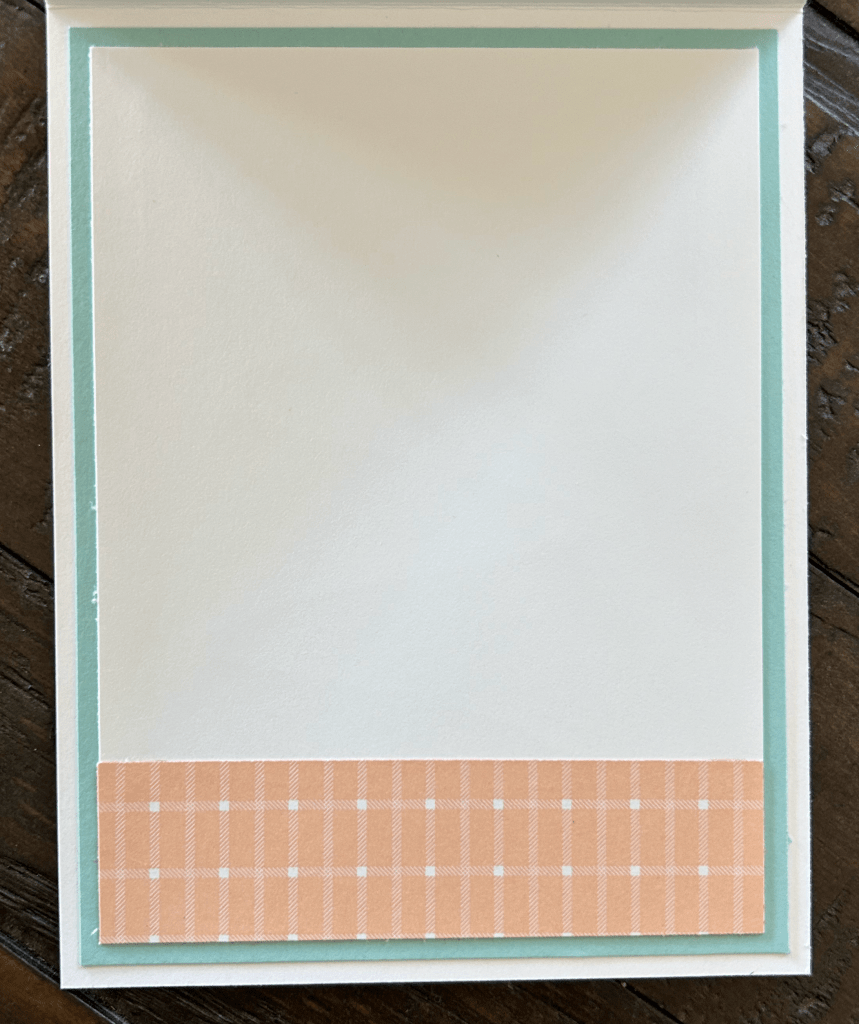
Inside of the card. Pool Party cardstock layer is 5.25″ x 4″. Basic White cardstock layer is 5″ x 3.75″. The Petal Pink strip is 1″ x 3.75″.
Supplies to create this card is below. Happy stamping! 🙂
I’m not sure about you, but when I looked in the Stampin’ Up January – April 2024 Mini Catalog that just launched on January 4, 2024 I was super excited. One of the bundles that caught my eye first was the Bright Skies bundle. I could envision having lots fun with the set. Then to my surprise I discovered that there is a coordinating 12″ x 12″ Designer Series Paper (DSP) for the Bright Skies bundle in the Stampin’ Up Sale-A-Bration brochure that can be earned with a $50 Stampin’ Up purchase.
Over the next couple of weeks I’d like to share with you some cute projects you can create with the Bright Skies bundle and Sunny Days 12″ x 12″ DSP.
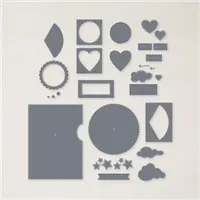
This first project that I made below challenged me to use the Stampin’ Up Give it a Whirl dies that I had on hand, but had not used yet.
The color combination I decided to use for this card is the following:
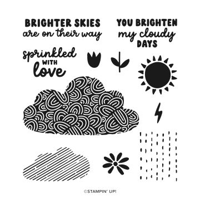
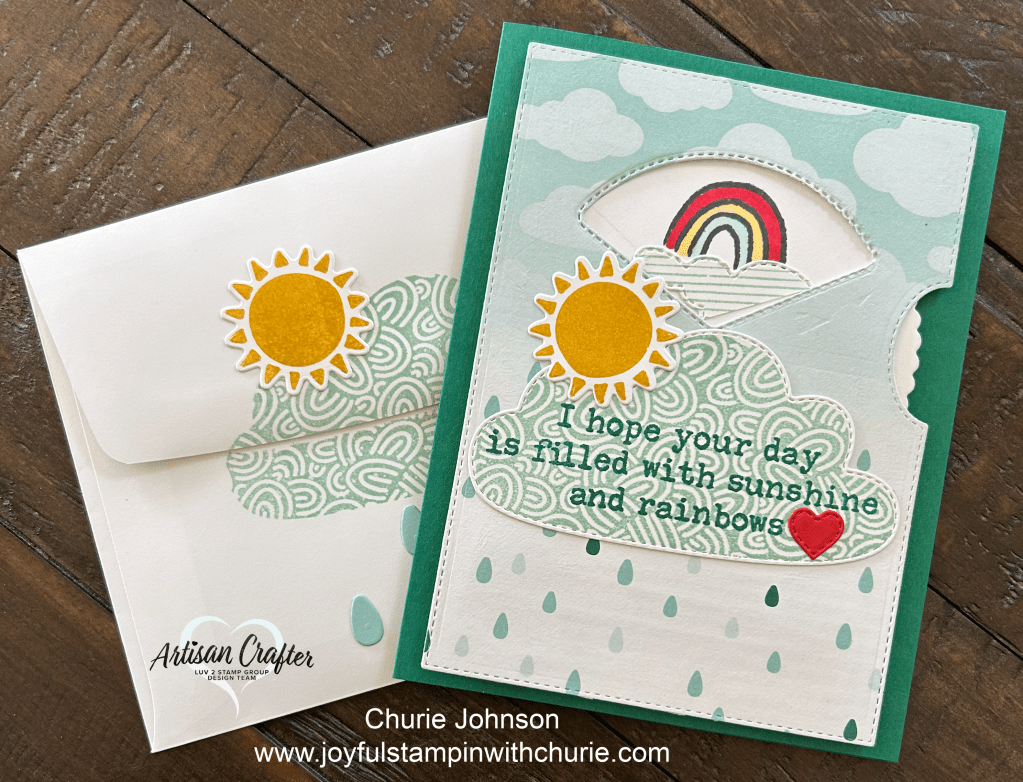
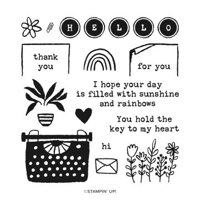
Front of card with the rainbow image stamped in the open slot. The rainbow image is from the Stampin’ Up Just My Type stamp set (2023-2024 Stampin’ Up Annual Catalog). I used Poppy Parade, Daffodil Delight, and Pool Party Stampin’ Blends to color the rainbow. The cloud was created by using one of the cloud dies included in the Stampin’ Up Give it a Whirl dies set. After die cutting the cloud, I used the striped cloud stamp that is a part of the Bright Skies bundle and stamped it on the cloud using the Pool Party stamp pad.
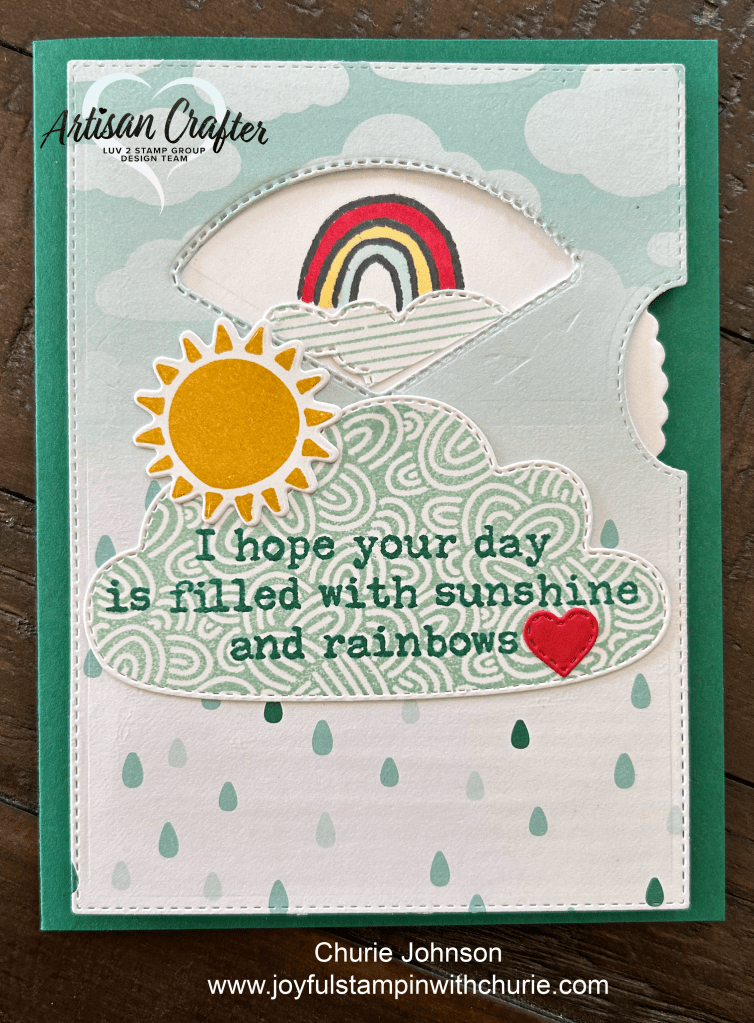
When you spin the wheel by moving the dial on the right side of the card downwards, the next image that shows up in the open slot is the one shown above. The Sprinkled With Love sentiment and die cut raindrops are from the Bright Skies bundle. The sentiment was stamped in Poppy Parade and the raindrops were die cut from Pool Party cardstock.
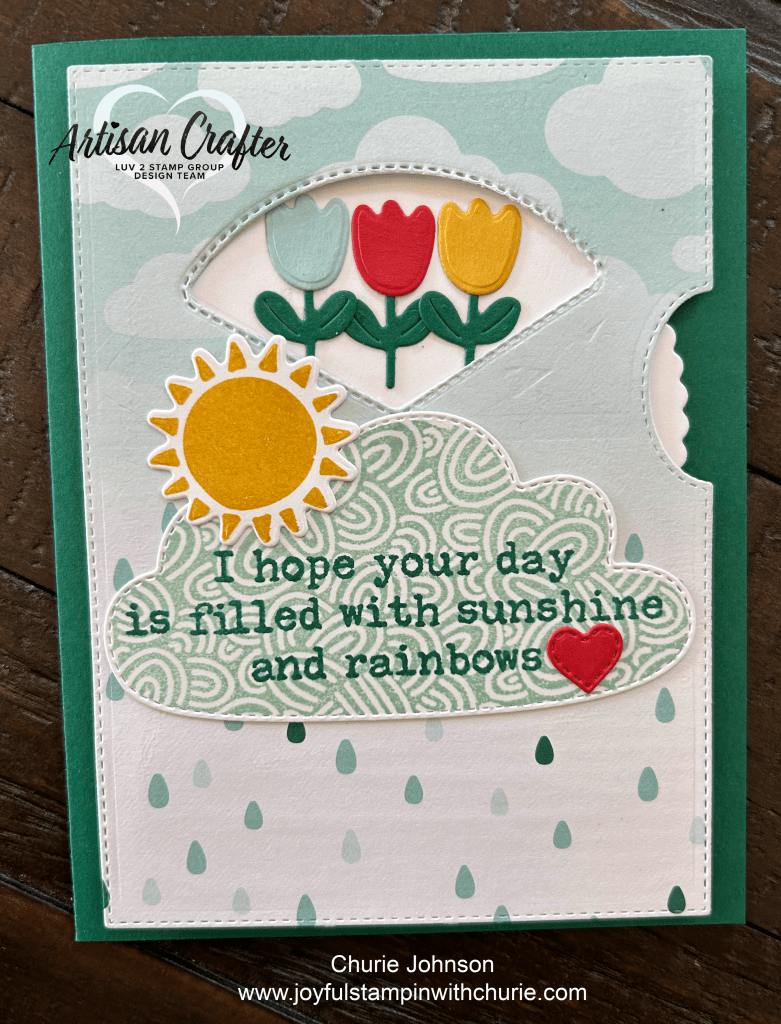
When you spin the wheel by moving the dial on the right side of the card downwards one more time, the next image that comes up is three flowers. The flowers were die cut using the Bright Skies bundle. The flower stems were die cut from Shaded Spruce cardstock and the flowers were die cut from Crushed Curry, Pool Party, and Poppy Parade cardstock.
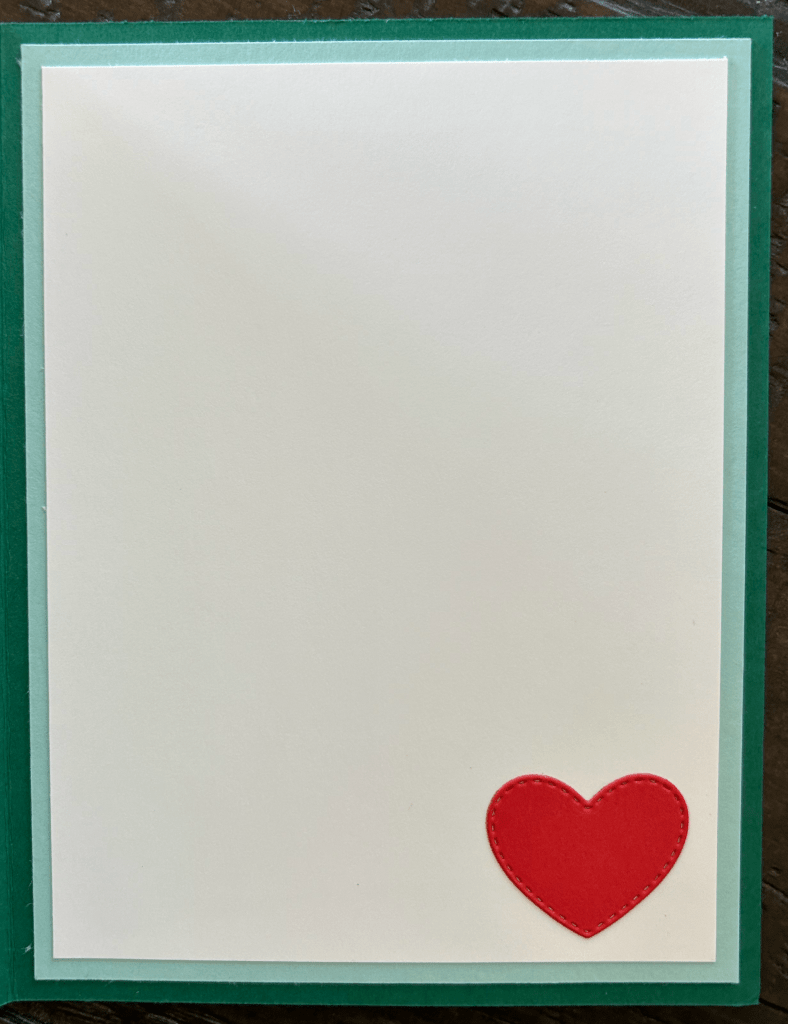
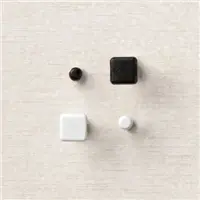
The Shaded Spruce card base is 8.5″ x 5.5″ scored at 4.25″. The top layer was created by using the Give it a Whirl dies and Sunny Days DSP. The wheel was die cut in basic white cardstock from the die in the Give it a Whirl die set and it was attached to the card via a brad (the brad is covered by the cloud with the sentiment, I hope your day is filled with sunshine and rainbows).The cloud was stamped in Pool Party and die cut from the Bright Skies bundle. The sentiment is from the Stampin’ Up Just My Type stamp sent and was stamped in Shaded Spruce on the cloud. The sun was stamped in Crushed Curry on basic white cardstock and die cut using the Bright Skies bundle. Lastly, the Poppy Parade heart located after the sentiment was die cut using one of the hearts in the Give it a Whirl die set.
Inside of card. Measurements: Pool Party layer: 5.25″ x 4″. Basic White: 5″ x 3.75″. Poppy Parade heart was die cut using another heart shaped die that is included with the Stampin’ Up Give it a Whirl die set.
I hope I was able to inspire you. For the supplies I used to create this card, please see below. Happy stamping friends! 🙂
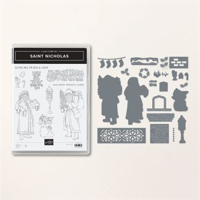
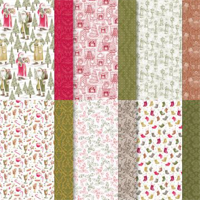
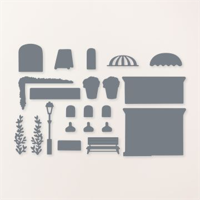
Today’s projects feature the Stampin’ Up! Saint Nicholas bundle and Designer Series Paper (DSP). This first card is a slimline card (measurements: 3.5″ x 8.5″). The card base is made from Cherry Cobbler cardstock. I wanted a nice and cozy feel to the card so I used the Cherry Cobbler print of the inside of a house DSP. The DSP measurements are 3.25″ x 8.25″. I just love the little fireplace and I could not help but to create some stockings to hang over it using the Saint Nicholas bundle dies. I also used the Saint Nicholas dies to die cut Saint Nicholas from the Designer Series Paper. To create a little collage area on the card, I used the Deckled Circle dies, Tailor Made Tag dies, the Black and Very Vanilla Large Check Ribbon, and the May the Christmas season fill your home sentiment stamp from the Saint Nicholas stamp set. The tag is made with Crumb Cake cardstock and the sentiment was stamped in Early Espresso ink.
This A2 card (measurements: 4.25″ x 5.5″) highlights three different sheets of the Saint Nicholas Designer Series Paper (DSP). The card base is Mossy Meadow cardstock, the next layer on the card (measurements: 4″ x 5.25″) is Wild Wheat, and then I used two different DSP patterns (one Mossy Meadow print (measurements 3.75″ x 3.5″) and the other one is a Cajun Craze print (measurements: 3.75″ x 1.5″). The Wild Wheat strip of cardstock that is over the DSP is 1″ x 4″). The measurements of the Wild Wheat mat behind Saint Nicholas is 2.5″ x 4.5″ and the white cardstock is 2.25″ x 4.25″. The Saint Nicholas image was fussy cut from the DSP. Lastly, the Merry Christmas sentiment that I used is a part of the Stampin’ Up! Rocking Horse stamp set. I used Cajun Craze ink to stamp the sentiment and then fussy cut it out.
If you’d like to make these two projects, the supplies are listed below. Happy stamping!
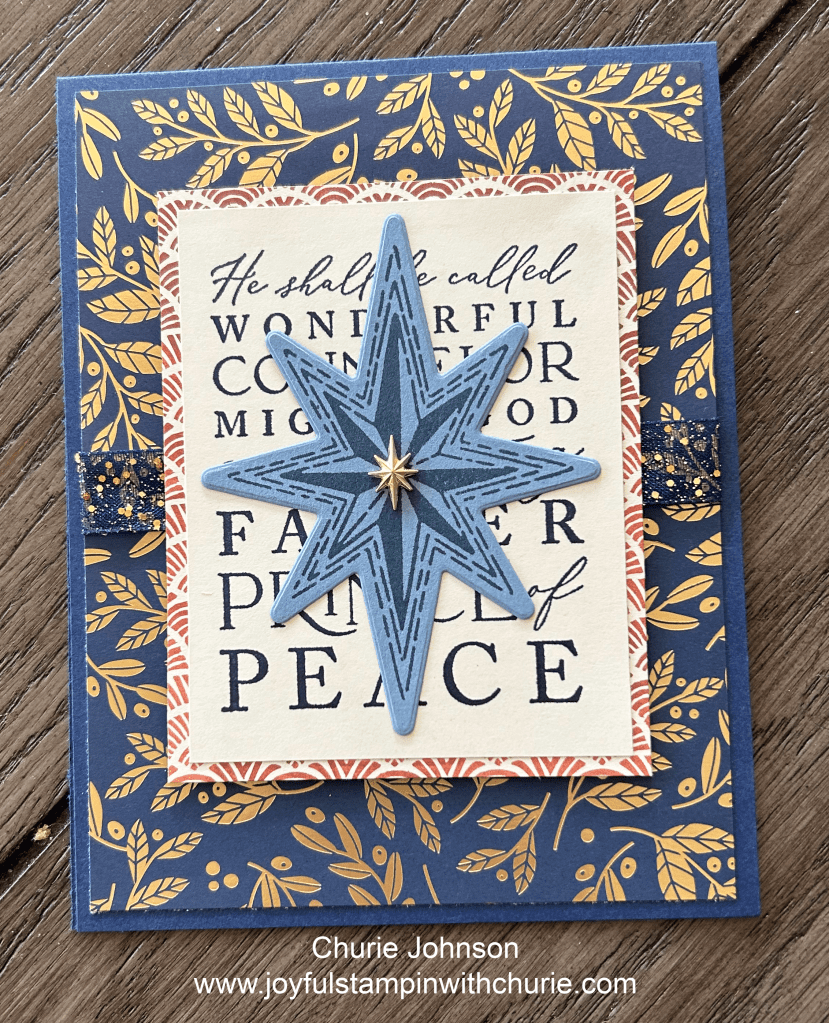
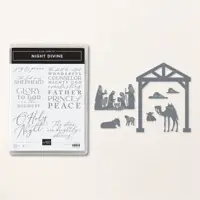
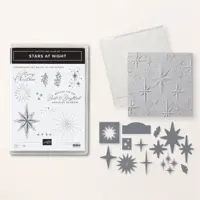
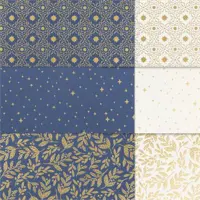
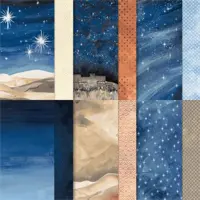
The Stampin’ Up O Holy Night suite is just beautiful. This first card is one of the cards in the Stampin Up September – December 2023 Mini Catalog that when I saw it, I knew I would have to make it. I decided to use the Night of Navy & Gold 1/2″ inch ribbon behind the sentiment layer to add a little pizzaz to the card. For the card base I used Night of Navy cardstock, the sentiment was stamped in Night of Navy, the beautiful star was stamped on Boho Blue cardstock with Misty Moonlight ink.
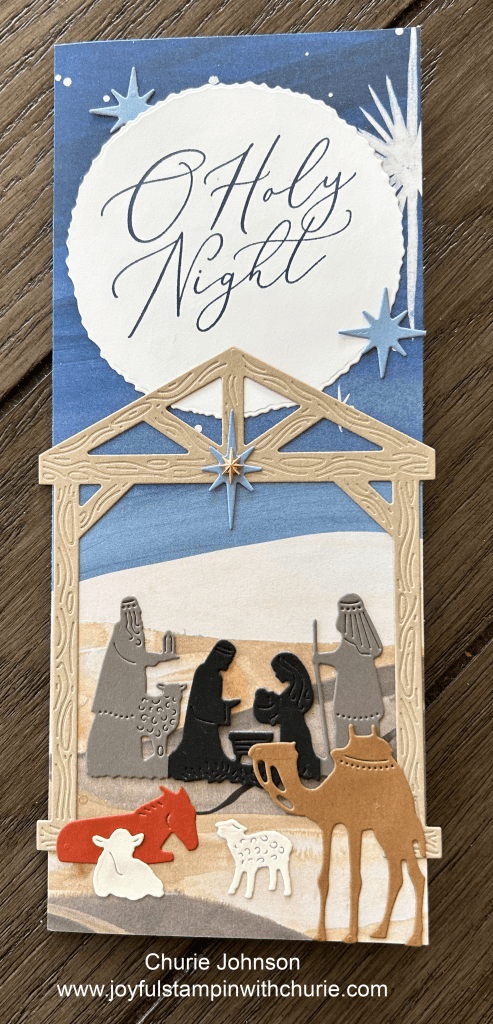
This next card I had fun creating the Christmas Nativity scene. I chose to use various colors for it. I used Pebble Path cardstock for the shepherd, wise man, and sheep in the back area, Basic Black cardstock for Mary, Joseph, and the manger, Pecan Pie cardstock for the camel, Cajun Craze cardstock for the donkey, Very Vanilla cardstock for the two sheep in the front, Crumb Cake cardstock for the stable, Basic White cardstock for the deckled circle moon, and Boho Blue cardstock for the stars.
Below is a list of supplies I used to create these two beautiful cards:
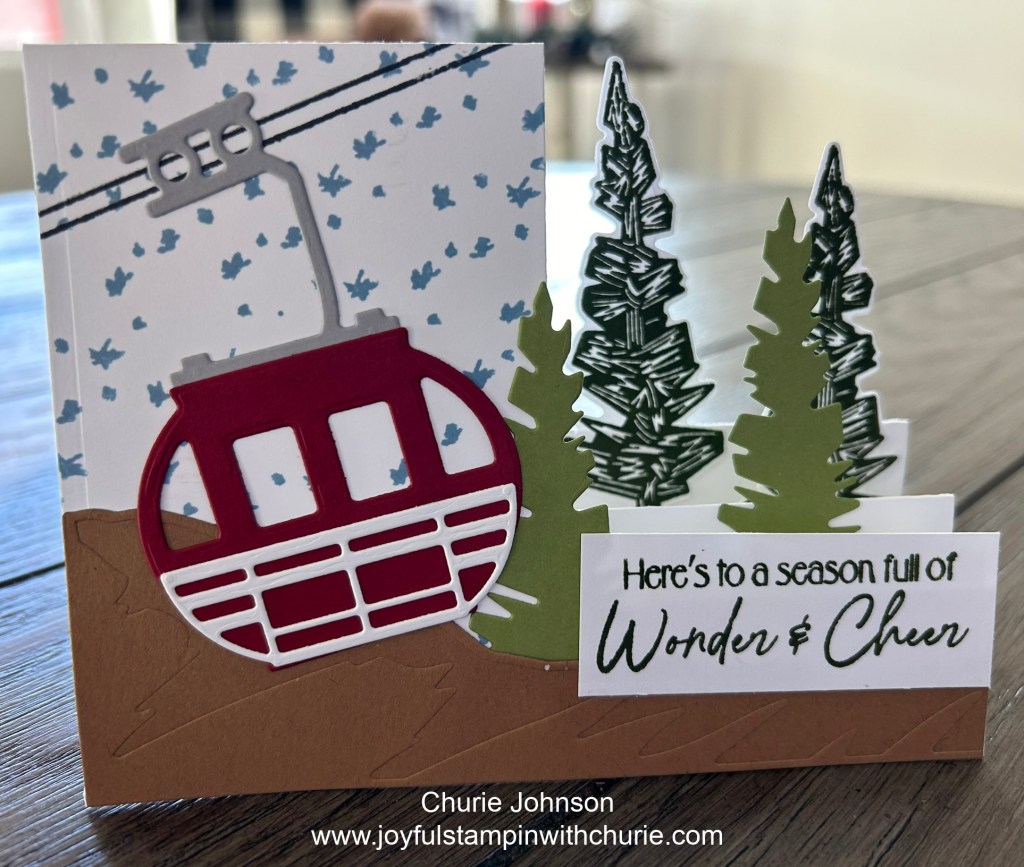
Have you ever looked in a Stampin’ Up catalog and thought “I need to make this”? Well, this card right here fell into that category for me. I think this stamp set might be one that many people missed because it is a Hostess reward and on page 79 of the September – December 2023 Stampin’ Up Mini Catalog. This stamp set cannot be purchased, but it can be earned if an individual hosts a Stampin’ Up party or has a qualifying order. If you would like to get this beautiful stamp set, I have great news… it is still available until the end of December or while supplies last. If you would like more information on how to earn this stamp set, please email me: churiejohnson@yahoo.com.
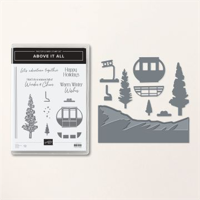
When I saw the Above It All bundle in the September – December 2023 Stampin’ Up Mini Catalog, it had winter fun and adventure written all over it. I have to admit I have never been on a ski lift before, but one day I am planning on doing so… it is on my bucket list. This fun fold card was so much fun to create.
List of items used to create this project is below:
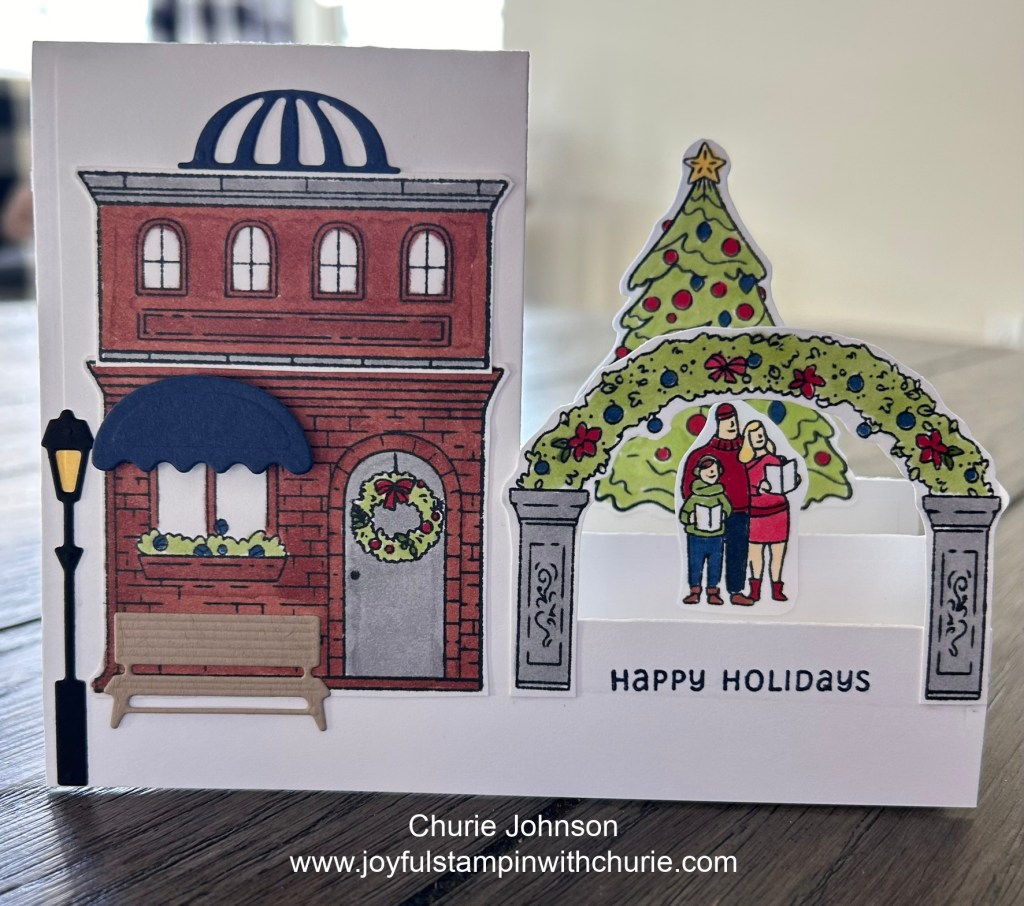
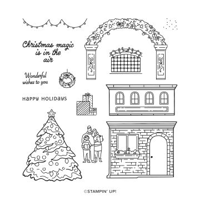
This cute holiday festive fun fold card features the Stampin’ Up Shop The Town stamp set. The stamp set coordinates with the Let’s Go Shopping dies in the May 2023 – April 2024 Stampin’ Up Annual Catalog. If you enjoy coloring, you will have lots of fun with this holiday stamp set.
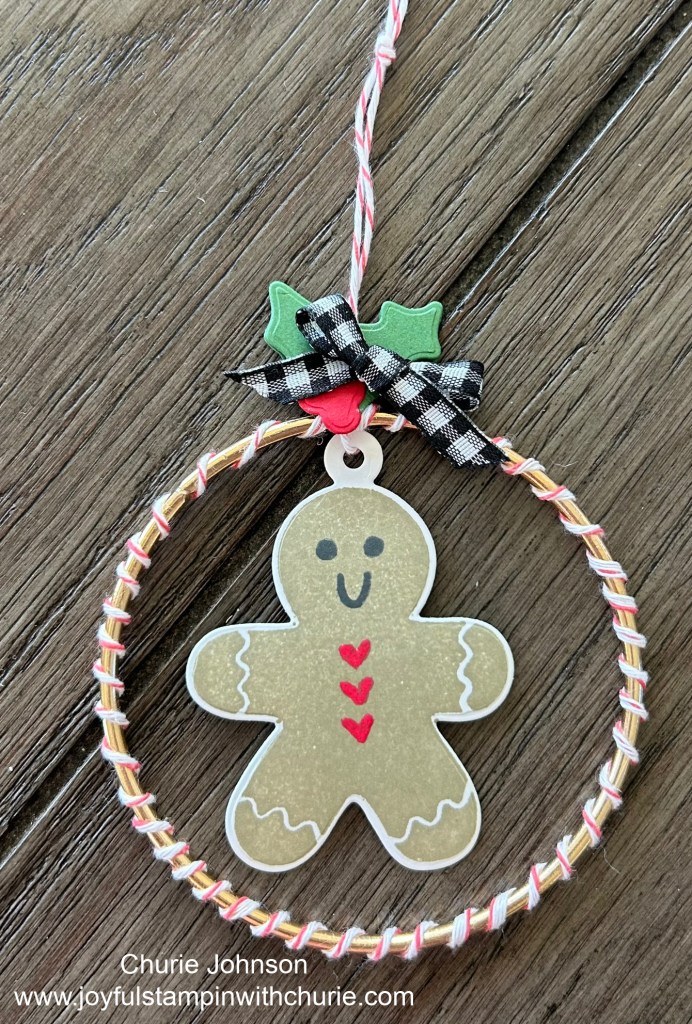
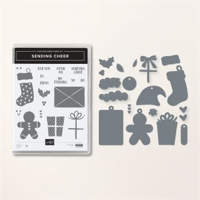
The Sending Cheer Bundle is great for making Christmas tags, but I decided to be adventurous and create this cute holiday ornament using the gingerbread man image.
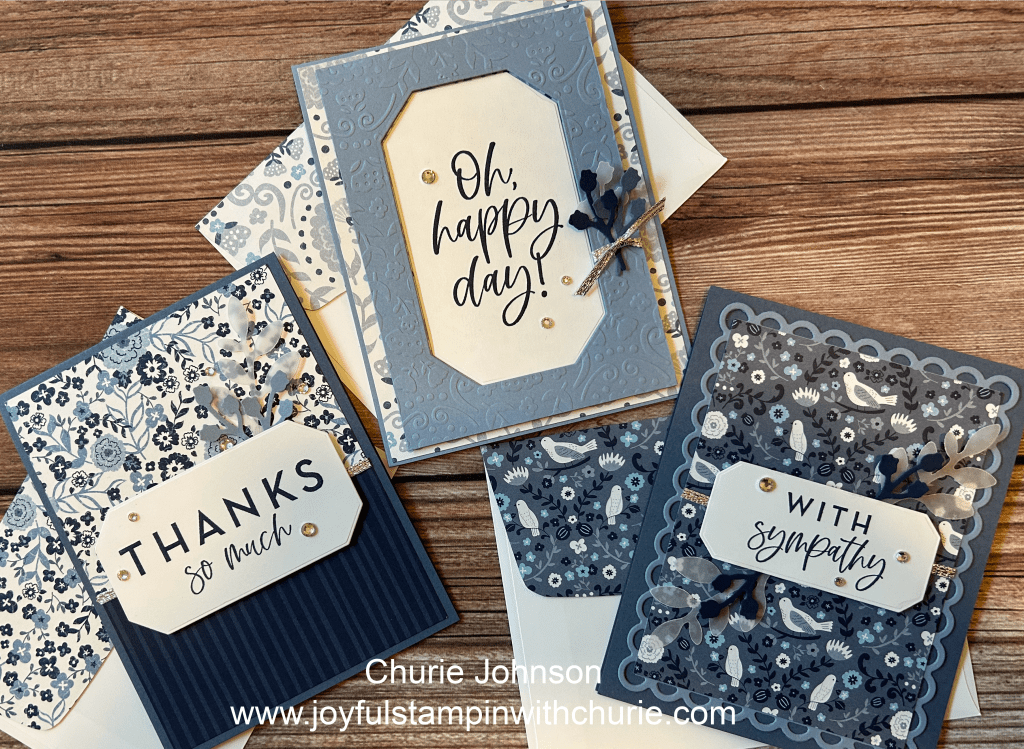
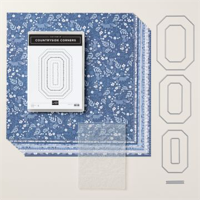
One of my favorite Designer Series Paper (DSP) in the Stampin’ Up 2023 – 2024 Annual Catalog is the Countryside Inn 12″ x 12″ Designer Series Paper (DSP). All of the different hues of blue and patterns included in the paper pack is just beautiful. Today I paired this pretty DSP with the Kindest Expressions stamp set and created three 5 1/2″ x 4 1/4″ cards with matching envelopes.
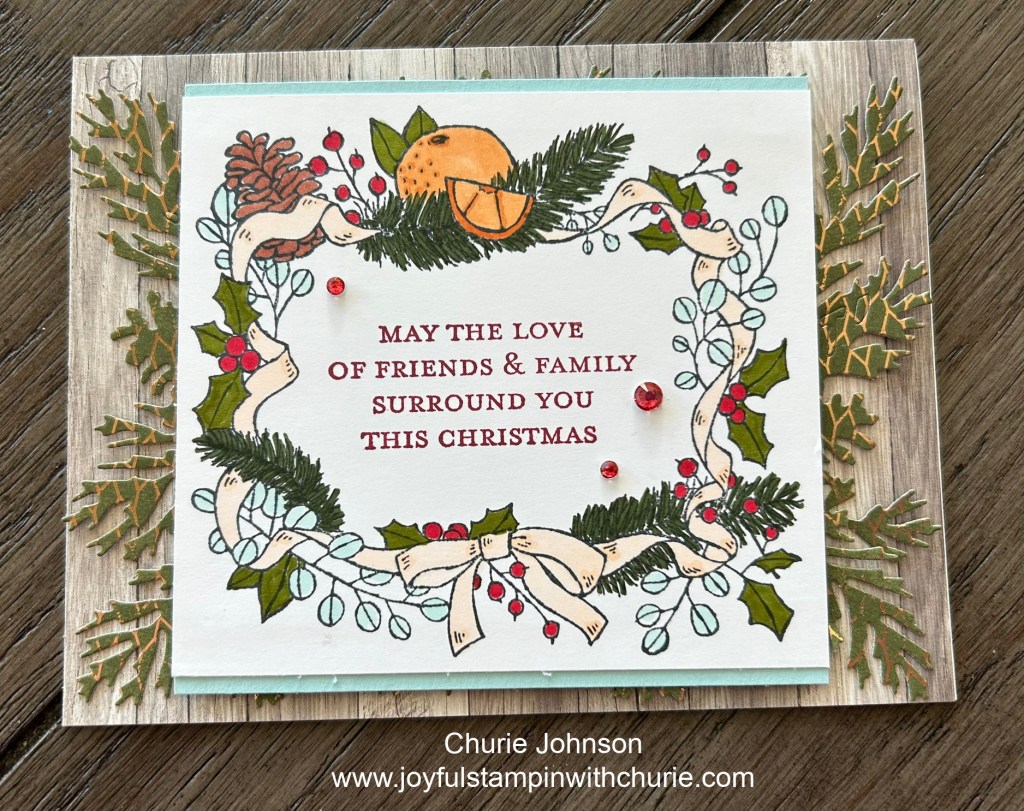
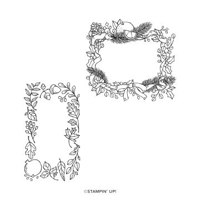
For this first card, I created the Boho Blue frame using the Countryside Blossoms Embossing Folder and Countryside Corners Dies which are both a part of the Stampin Up Countryside Inn Suite Collection. I also used the Bough punch to create the little cute Night of Navy, Misty Midnight, and Vellum Cardstock sprigs that I attached to the frame.
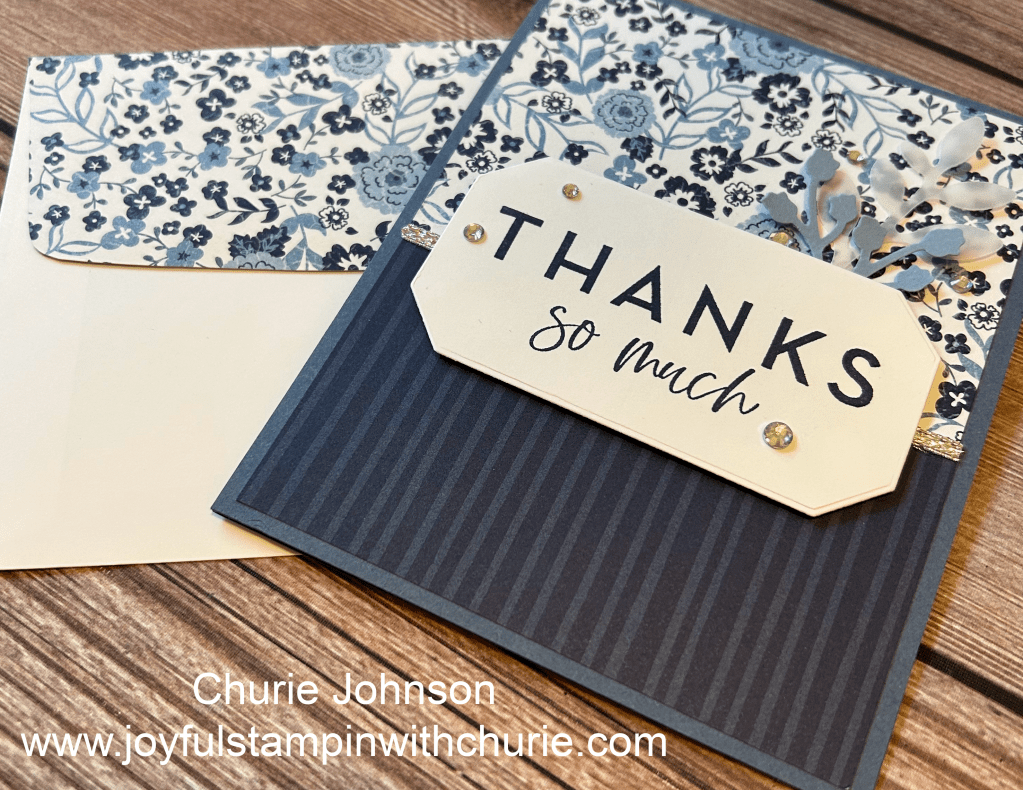
For this second card, I wanted to show off the different patterns of the Countryside Inn 12″ x 12″ DSP and how you can use the Countryside Corners Dies with the Kindest Expressions stamp set.
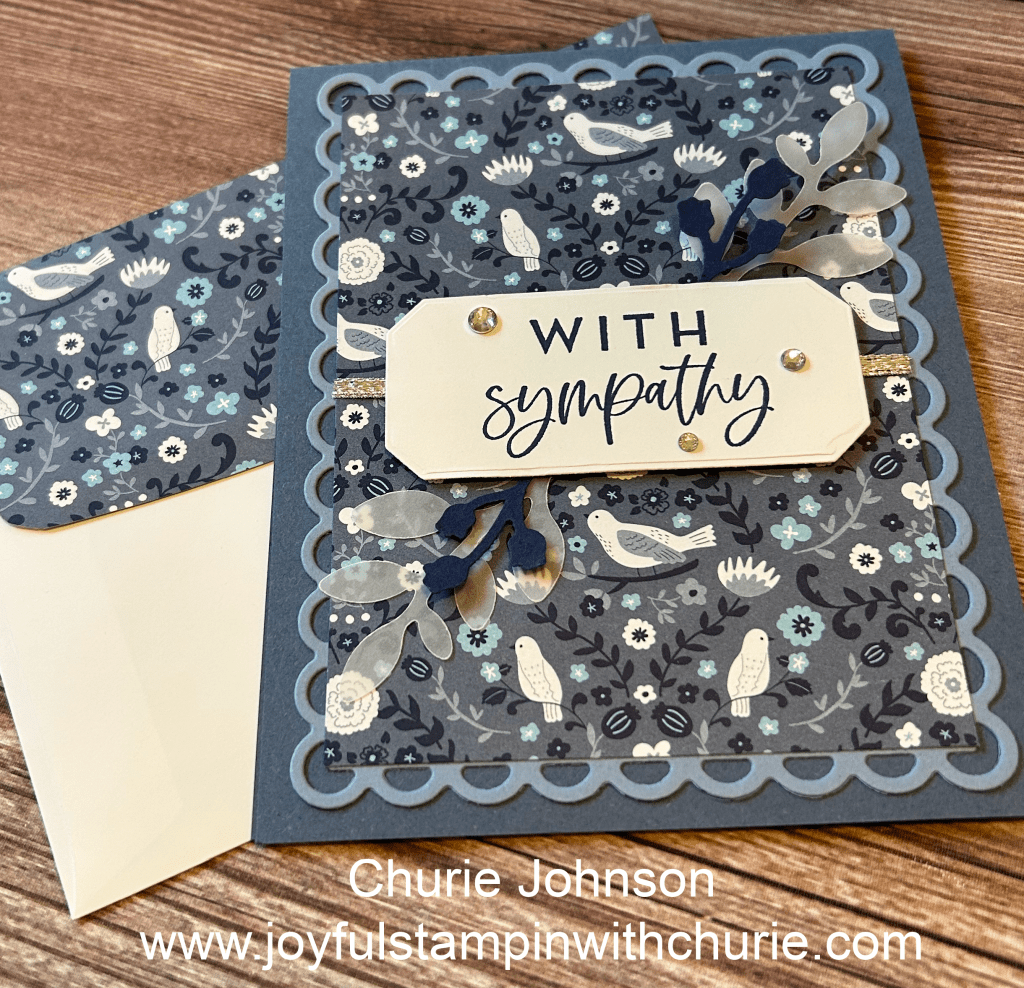
For this last card, I wanted to use the Scallop Contour dies to create a soft and elegant layer under the beautiful Countryside Inn 12″ x 12″ DSP. I used Misty Moonlight cardstock for the card base, Boho Blue for the Scallop Contour layer, and added little sprigs in Night of Navy to bring out the various blue hues.
If you’d like to create these pretty cards, here is list of all the supplies I used. Happy stamping! 🙂