Bistro Burger Interactive Slimline Card

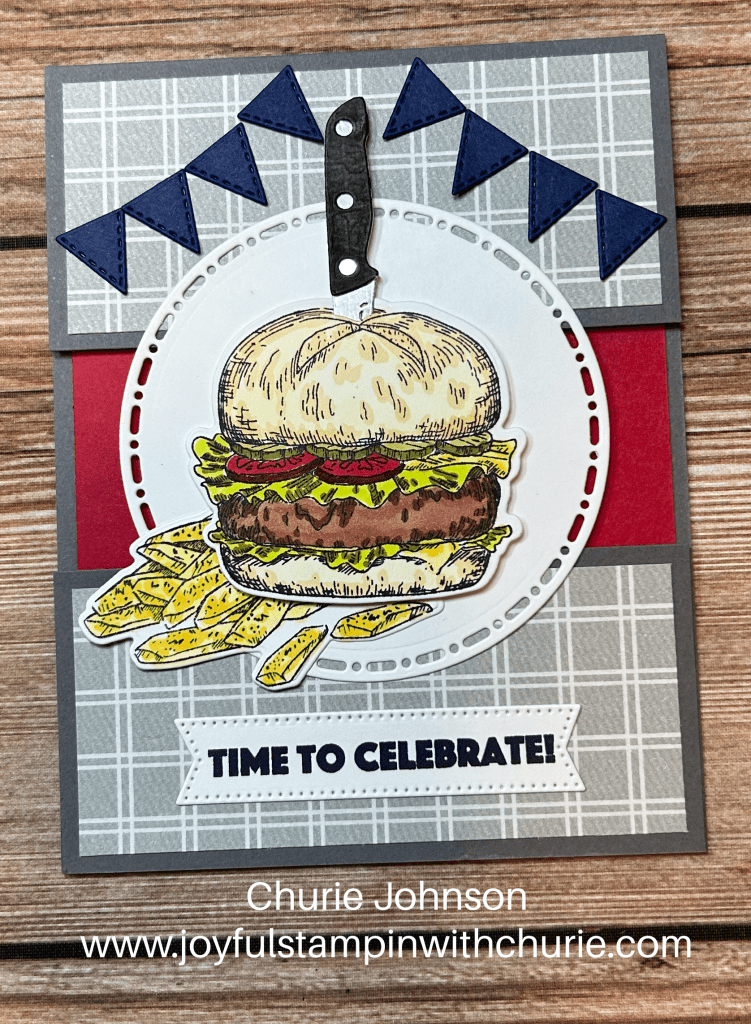
I created this fun interactive “growing” burger slimline card for my soon to be son-in-law for his birthday. 🙂 My daughter informed me that he has her order a 4-5 patty burger for him at In N Out. I had no idea you could add that many patties to a burger there, but I guess it is a real thing. LOL My soon son-in-law loved the card. I placed an In N Out gift card inside of the card.

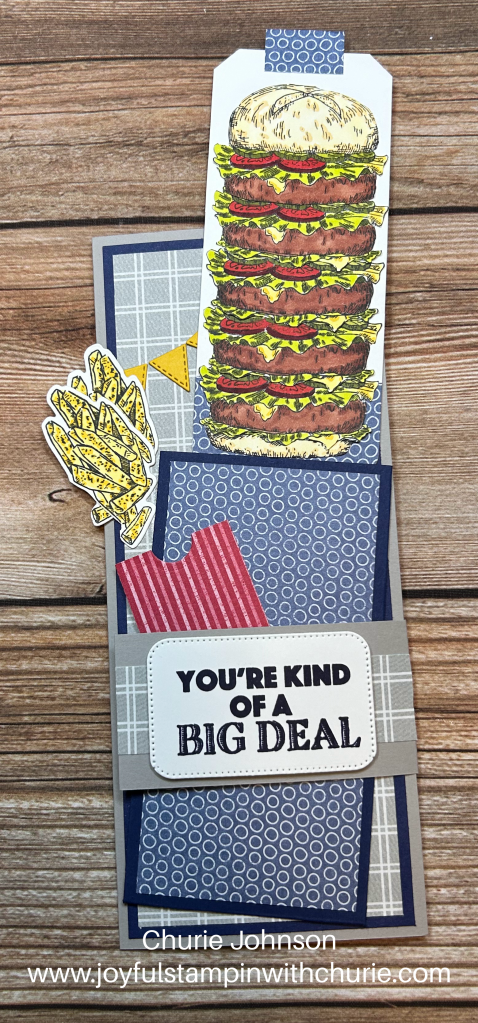
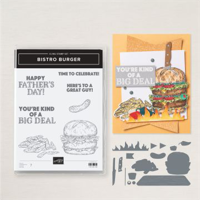
Tips: To create the 5 patty burger I used a piece of 1/2″ x 5″ Basic White cardstock and built the burger from the bottom up. Each hamburger layer was stamped, colored with Stampin Blends, fussy cut, and adhered to the 1/2″ x 4 1/2″ strip of Basic White cardstock. After assembling the burger I adhered it to a Basic White tag. To help keep the Smoky Slate flap closed I placed a mini magnet under the Smokey Slate Designer Series Paper (inside of flap – closest to the the card when the card is opened) and I placed another mini magnet inside of the french fries container.
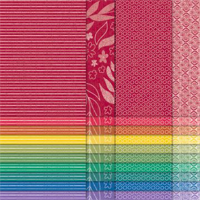
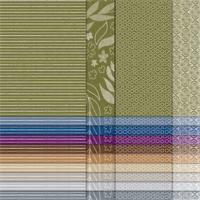
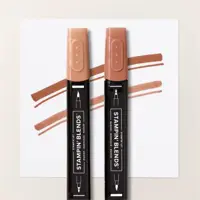
Color Combination:

Card Measurements:

Cardbase: 7″ x 8 1/2″ (scored @ 3 1/2″)

Night of Navy layer: 3 1/4″ x 8 1/4″

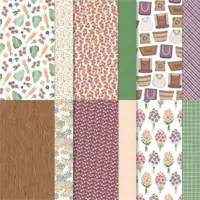
Smoky Slate Designer Series Paper: 3″ x 8″

Tag Pocket: 3 1/4″ x 5 1/2″ (scored at 1/4″ on each side and bottom)

Night of Navy Designer Series Paper Layer (Tag Pocket): 3″ x 5 1/4″

Basic White Tag: 2 1/4″ x 5 1/2″

Night of Navy Designer Series Paper (Tag): 2 1/4″ x 1 1/4″

Smoky Slate Flap: 3 3/4″ x 1 3/4″ (scored at 3 1/2″)

Smoky Slate Designer Series Paper (Flap – Outside): 3 1/2″ x 1″

Smokey Slate Designer Series Paper (Flap – Inside): 3 1/4″ x 1 1/2″

White Cardstock layer (inside of the card): 3 1/4″ x 8 1/4″

Gift Card holder: 3 1/4″ x 1 1/2″

Below is a list of supplies I used to create this fun slimline card. Happy stampin! 🙂

Bistro Burger Father’s Day Card

Who said you can only have one hamburger patty with all the works on your hamburger? I created this double burger Father’s Day card using the Bistro Burger bundle from the 2024-2025 Stampin’ Up Annual Catalog. The hamburger stamp is only one hamburger patty, but you can stamp the image as many times as you would like to create the ultimate burger. For this card, I stamped the hamburger two times. Then I colored the whole hamburger image with Stampin’ Blend markers of one and then just colored the hamburger and the works (no bun) on the other stamped hamburger. Next, I cut the hamburger and works from the second stamped hamburger and cut off the bottom bun of the first hamburger stamped image (colored). I then took a scrap strip piece of cardstock (long enough to add all the hamburger pieces onto) and adhered the bottom bun, the extra hamburger and works, and the first burger with the works and bun to it using multipurpose glue. After I built the burger I adhered it to the Spotlight on Nature die cut circle using Stampin’ dimensionals.

I created a gift card holder inside the card. I think it would be nice to treat your dad to a delicious hamburger on Father’s Day. 🙂

Measurements:

Cardbase: 8 1/2″ x 5 1/2″ (scored at 2 1/8″ from each side)

Crumb Cake Designer Series Paper layer: 1 7/8″ x 5 1/4″ (each panel)

Basic White Cardstock (inside of card): 4″ x 5 1/4″

Crumb Cake Designer Series Paper (inside of card): 4″ x 1 3/4″

Belly band: 9 3/8″ x 1 1/4″ (scored at 2 3/8″ from each side)

The supplies I used to create this Father’s Day card is below. Happy stampin’! 🙂

Bistro Burger Card

I am having so much fun with the Stampin’ Up Bistro Burger bundle. I paired the bundle with the To Market Designer Series Paper for this card.

Color Combination:

Card Measurements:

Cardbase: 8 1/2″ x 5 1/2″ (scored at 4 1/4″)

White Layer: 4″ x 5 1/4″

Garden Green Designer Series Paper: 1 1/2″ x 1 3/4″ and 2 1/4″ x 3 1/4″

Tomato Designer Series Paper: 1 1/2″ x 3 1/4″ and 2 1/4″ x 1 3/4″

Below is a list of supplies I used to make this card. Happy stamping! 🙂

Bistro Burger Fun Fold Card

The Stampin’ Up Bistro Burger bundle is so much fun to create projects with. This fun fold card was no exception.

Color Combination:

Measurements:

Cardbase: 11″ x 4 1/4″ (scored at 5 1/2″ and cut at 7 1/2″

Basic Gray (front of card): 2″ x 4 1/4″

Designer Series Paper (DSP) layers: 1 3/4″ x 4″

Real Red layer (inside of card): 4″ x 5 1/4″

Supplies I used to create this fun fold card is below. Happy stamping! 🙂

Bistro Burger Slimline Card 1

What a fun Stampin’ Up bundle: Bistro Burger! 🙂 I was selected as one of the three guest stampers in the Luv 2 Stamp Group to create projects using different Stampin’ Up bundles in the 2024 annual catalog. This is the bundle I will be creating 6 projects with during the month of August.

The color combination I used for this slimline card is the following:

Measurements:

Cardbase: 7″ x 8 1/2″ (scored at 3.5″)

Basic Black layer: 3 1/8″ x 8 1/8″

Poppy Parade Layer: 3 1/4″ x 8 1/4″

Basic White Layer: 3″ x 8″

Poppy Parade squares: 1″

List of supplies to create this card is below. Happy stamping! 🙂

Saying Hey Cards

Today I had lots of fun creating cards with the Stampin’ Up Saying Hey stamp set and the 2024 – 2026 In Colors. My inspiration for my cards came from the card sketches on the bottom of page 22 in the Stampin’ Up 2024 Annual Catalog.

2024 – 2026 In Colors: Petunia Pop, Summer Splash, Shy Shamrock, Peach Pie, and Pretty in Pink

Card 1: Petunia Pop

Card 2: Summer Splash

Card 3: Shy Shamrock

Card 4: Peach Pie

Card 5: Pretty in Pink

Supplies I used to make these easy to make cards is below: