Rain or Shine

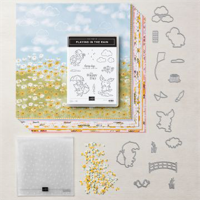
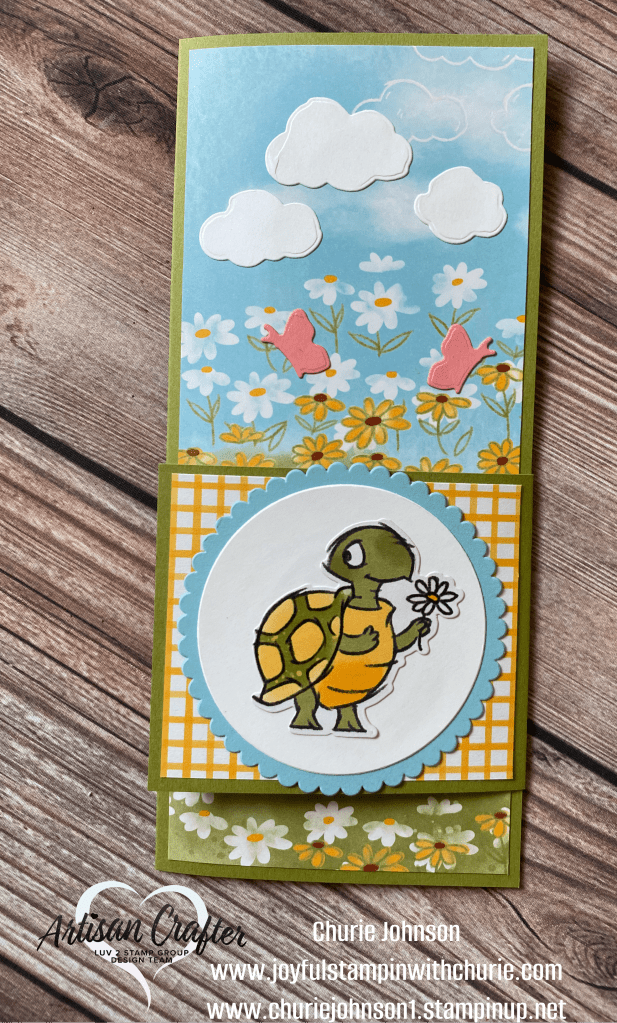
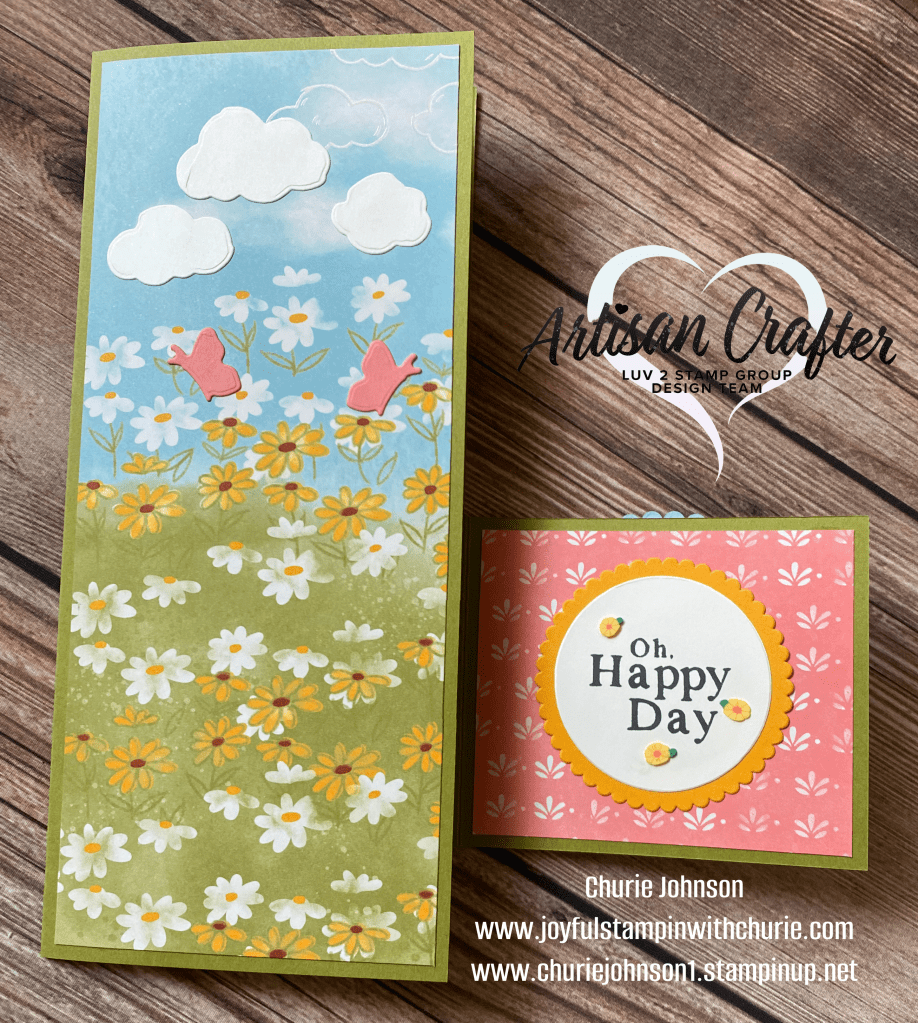
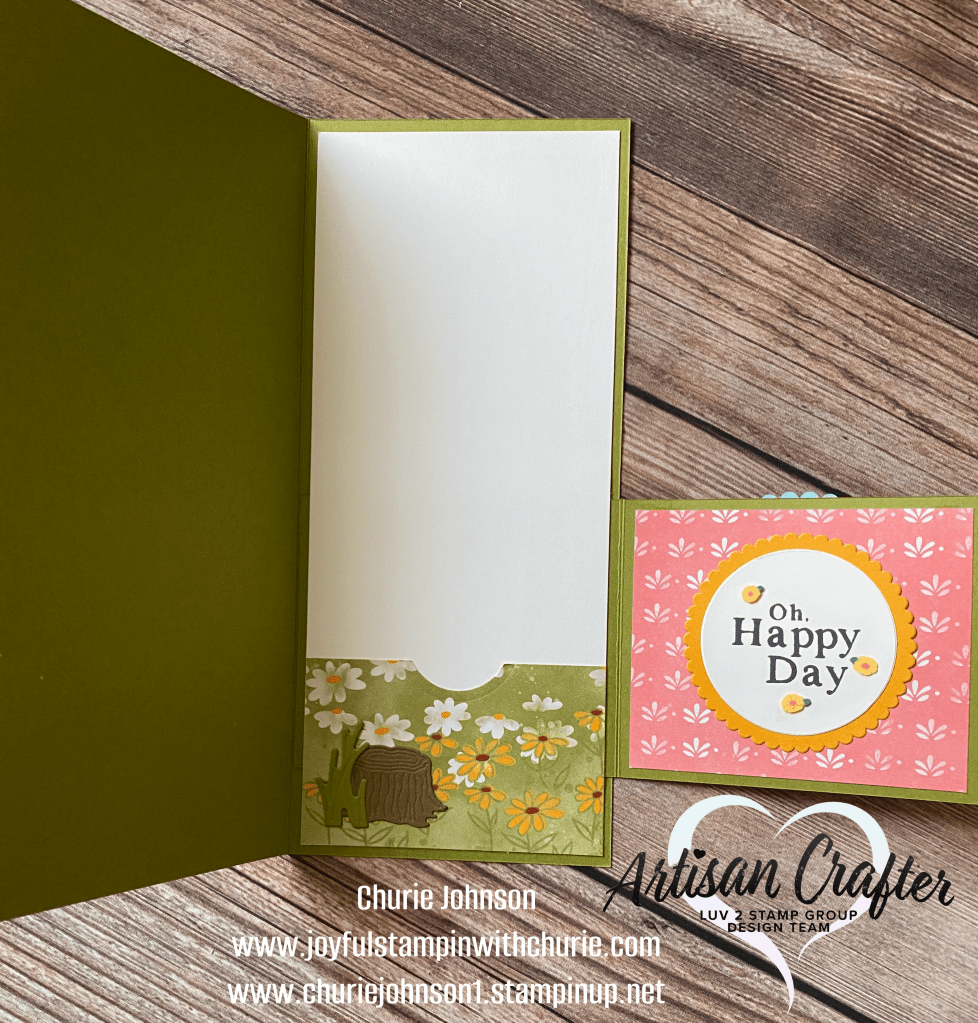
The Stampin’ Up Rain or Shine suite is so fun to create with. The Designer Series Paper (DSP) in this suite make it easy to create amazing projects. For this first project I created this cute fun fold Slimline card (8″ x 3.5″) that also has a pocket for a gift card. The flap is 7″ x 3″ (folded at 3.5″) and is tucked under the layer inside of the card. The gift card pocket is 3.25″ x 2″ and I used a small circle die to cut out the little notch on the top

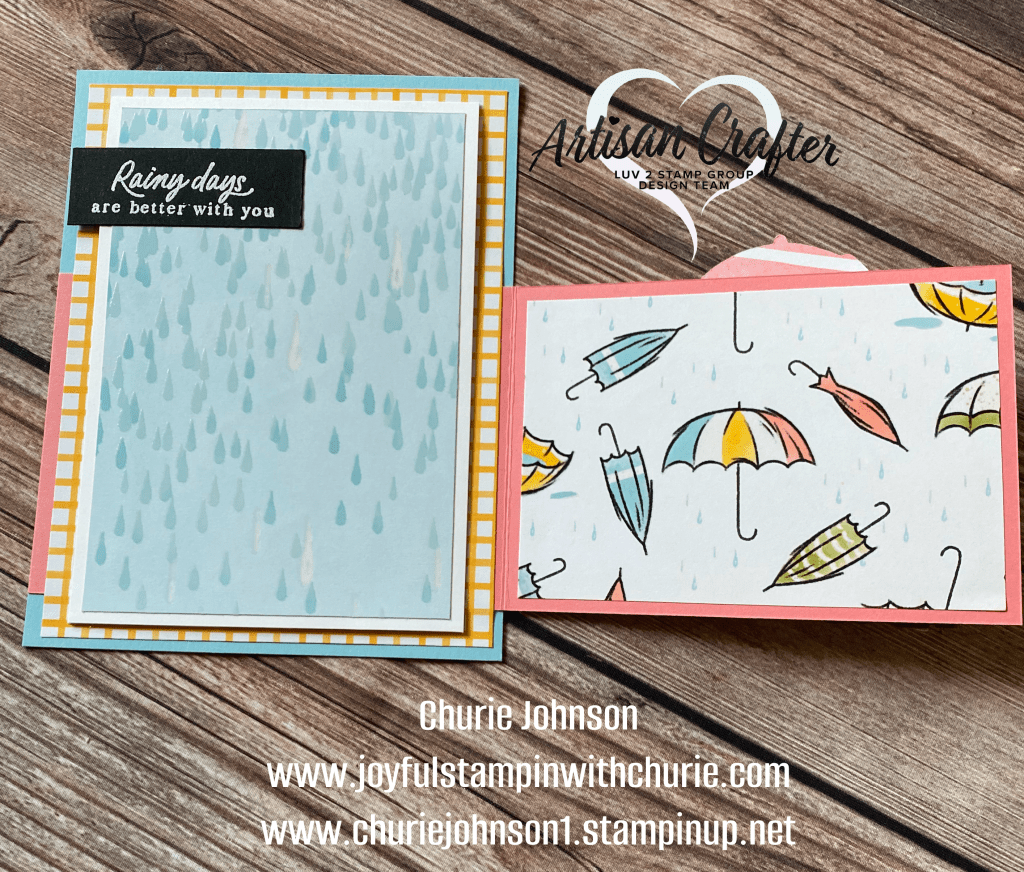
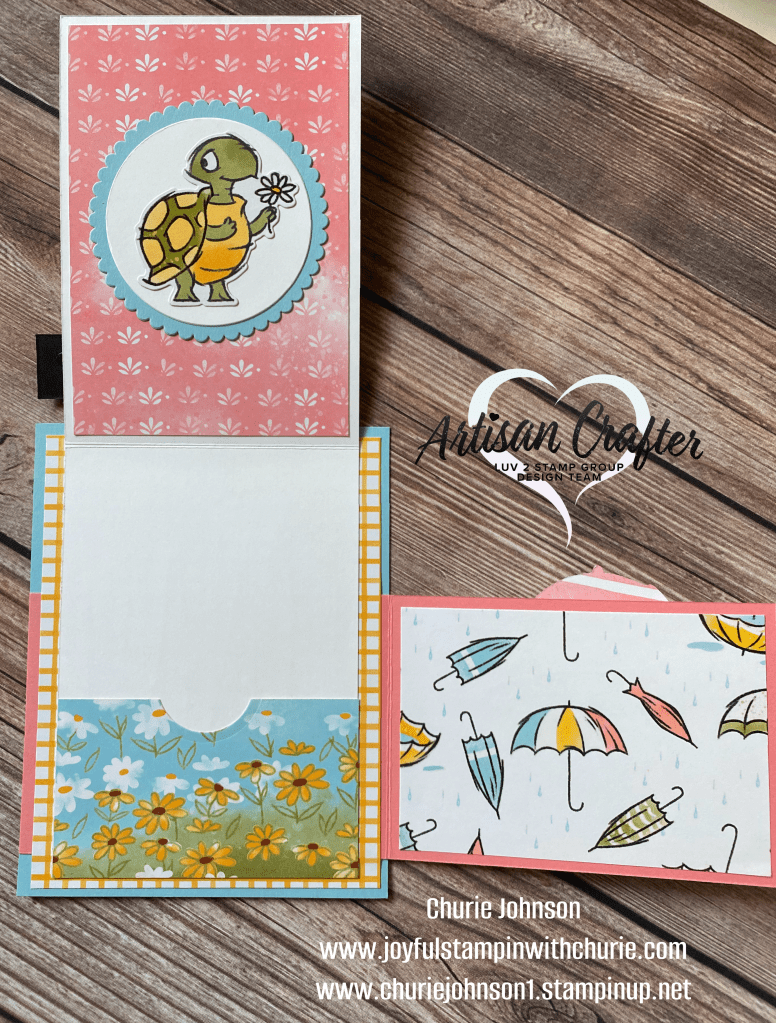
For this next project I created a standard A2 (4.25″ x 5.5″) fun fold card. The Balmy Blue card base is 4.25″ x 5.5″. I layered a 3.75″ x 5.25″ piece of DSP on top of it (but don’t adhere this layer down until later since the side flap will be tucked underneath of it). Next, I created a 3.5″ x 5″ card that is on top of the card base. Lastly, I created the flap which is 8.5″ x 3″ (folded at 4.25″).

Assembly Instructions:

  • Adhere flap to card base.
  • Adhere DSP on top of the flap/card base.
  • Adhere 3.5″ x 5″ card on top of the DSP.

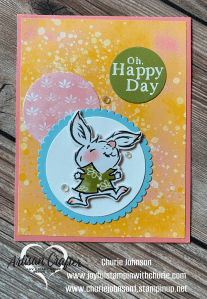
For these last two projects I created standard A2 cards (4.25″ x 5.5″). The two bunnies are just adorable. To complete the scene of it being a rainy day, I added clouds using the Basic Borders dies to the card on the left. I could not just make a rainy day card without making a happy day card. This last card turned out so cheery with the DSP and colors.

Shop for the products used to create all of these cards below.

Sweet Citrus


This week I had some fun with the Sweet Citrus Bundle. For this first card I wanted to pair it up with the Around the Bend Bundle.I first created the background with the Cane Weave 3D Embossing Folder. Then I cut two leaf layers (one in Balmy Blue and one in Granny Apple Green) and layered them on top of the Basic White Cane Weave cardstock. Next, I stamped the lemons in Daffodil Delight on Basic White cardstock and used the Sweet Citrus Hybrid Embossing Folder to cut and emboss them. Then I stamped the leaves in Granny Apple Green and the flowers in Petal Pink and used the Sweet Citrus Dies to cut the shapes out. After adhering all the pieces to the card front, I then added a linen thread bow to the card. Lastly, I stamped the sentiment, “Have a zesty birthday!” on Basic White cardstock and used the label from the Gingko Branch die to cut it out. The label die was pretty long for this sentiment so after running it through the Stampin’ Cut and Emboss Machine, I moved the die so that it would be closer to the end of the text, aligned the sides (the groves on the outside of this label die helped a lot), and ran it back through the Stampin’ Cut and Emboss Machine. Tip: I used washi tape to hold the die in place when I ran it through the Stampin’ Cut and Emboss Machine so that it would not move around during the process.

 
For this second card, I used the same color combination as the first one. Instead of the card base being Granny Apple Green like the first card, I chose to use Balmy Blue cardstock for this card. For the background layer of this card I decided to stick with the Cane Weave 3D Embossed Basic White cardstock. Next, I stamped my own Designer Series Paper (DSP) using the Sweet Citrus stamp set and used the large square die from the Stylish Shapes die set to cut out a square from it. I layered the DSP on a Granny Apple Green square mat to compliment the green leaves.  Next, I adhered all the layers down on the card and added a linen thread bow to it. Lastly, I stamped the sentiment, “Enjoy the sweeter things in life”, and cut it out using the Gingko Branch label die. This time I didn’t shorten the label like I did on the first card because this sentiment was longer.
 

Taco Fiesta

 
It is Taco Tuesday! And what would be better than creating some really cute cards using the Stampin’ Up Taco Fiesta stamp set? I wanted to have fun creating some simple, fun cards. For this first card, I used the taco image and the Long time, no TACO sentiment. I also used the Granny Apple Green and Daffodil Delight Stampin’ Blends to color the tacos.
For this second card, I stamped the bowl of guacamole, tortilla chips, and sentiment in the lower left hand corner of the card. I colored the images with the Granny Apple Green, Daffodil Delight, and Soft Suede Stampin’ Blends.

Oh my heavens, although this next card is so simple it is so cute! I stamped the pepper and sentiment in the middle of the card and colored the pepper with the Dark Real Red and Dark Granny Apple  Green Stampin’ Blends.

Not sure about you, but I think these little avocados are adorable. I decided to pair the Taco Fiesta stamp set with the Celebrating You stamp set. I stamped the avocados in the middle of the card with the sentiment below them. Next, I colored the avocados using the Dark and Light Granny Apple Green and Light Soft Suede Stampin’ Blends. Lastly, to bring out the sentiment I decided to use the little heart die from the Teacup dies to create some small red hearts.

Easter Bunny

One of my favorite holidays, Easter, is just around the corner, so I decided to create some Happy Easter cards. For this first card, I wanted to show you how you can stamp your own Designer Series Paper (DSP) or background using a stamp set. I used the carrot image from the Easter Bunny stamp set to create the background. I randomly stamped the image and colored them with the Stampin’ Blends and Markers. I also stamped another three carrots, colored them, and fussy cut them to embellish the Happy Easter sentiment.

Supplies:


When I first saw this Easter Bunny image in the Stampin’ Up Easter Bunny stamp set I envisioned it inside of an Easter Basket, but I was not sure how that was going to happen until I remembered the Stampin’ Up Full Basket Dies and the Framed Florets Dies. I used the oval die from the Framed Florets Dies to create the Easter Basket handle. I then stamped the Easter Bunny, colored it using the Smoky Slate and Petal Pink Stampin’ Blends, and fussy cut it out. Lastly, I stamped the floral image and several of the Easter egg image, colored them using the Stampin’ Blends, and fussy cut them out to add them to my card.

Supplies:

Dainty Delight

 Encouragement Card
The Stampin’ Up Dainty Delight Bundle is perfect to make beautiful projects with. For this encouragement card I stamped the floral image in black memento ink and colored it with the Stampin’ Write Markers. You will notice that I did not color the whole image (the entire flowers or leaves), but only a splash of color on each flower and leaf which created a nice watercolor look. Additionally, I layered a piece of vellum cardstock on top of the By The Bay Designer Series Paper (DSP) to soften up the card.

Thank You Card
To create this simple thank you card I used the Dainty Delight dies to make the oval wreath and flowers. Then I stamped the Dainty Delight stamp sentiment in the middle of the card in black memento ink. Lastly, I added a linen thread bow to the side of the wreath using a glue dot.
Spring Color Combination

Ginkgo Branch

Thinking of You Card

Did you know that you can combine very different products to create beautiful projects? I paired up the Ginkgo Branch bundle with the By The Bay Designer Series Paper (DSP) to create two cards this week: Thinking of You card and With Sympathy card.
Supply List:
Stamps/Bundles: Ginkgo Branch
Paper: Balmy Blue, Basic White, Mint Macaron, and By the Bay DSP
Ink: Black Memento and Mint Macaron
Dies: Stitched Greenery and Fabulous Frames
Embellishments/Ribbon: Brushed Brass Butterflies and Linen Thread

With Sympathy Card
Supply List:
Stamps/Bundles: Ginkgo Branch
Paper: Balmy Blue, Basic White, Mint Macaron, and By the Bay DSP
Ink: Black Memento
Dies: Stitched Greenery
Embellishments/Ribbon: Brushed Brass Butterflies and Linen Thread